

If you’re looking for an alternative to Keurig’s single-serve coffee maker, then consider the AeroPress. What it lacks in convenience to Keurig’s single-serve K-cups, it more than makes up for in flavor and portability. The Aeropress gives you a portable way to enjoy delicious, smooth, full-flavored coffee.
In this post, I discuss some of the reasons you might choose the Aeropress vs. the Keurig for your single-serve coffee maker. I share how easy it is to use the AeroPress coffee maker, including a beginner’s guide for how to make coffee three ways using the AeroPress.
Use these links to skip ahead to any of the tutorials in this article:
First things First, What is an Aeropress?
The AeroPress is a single-serve coffee maker invented by Alan Adler in 2005. Its unique design uses air pressure and human strength to brew your coffee. Espresso machines also use pressure to create espresso shots. Although the AeroPress cannot achieve the same pressure as an espresso machine, it works on a similar principle of quick extraction for maximum flavor.
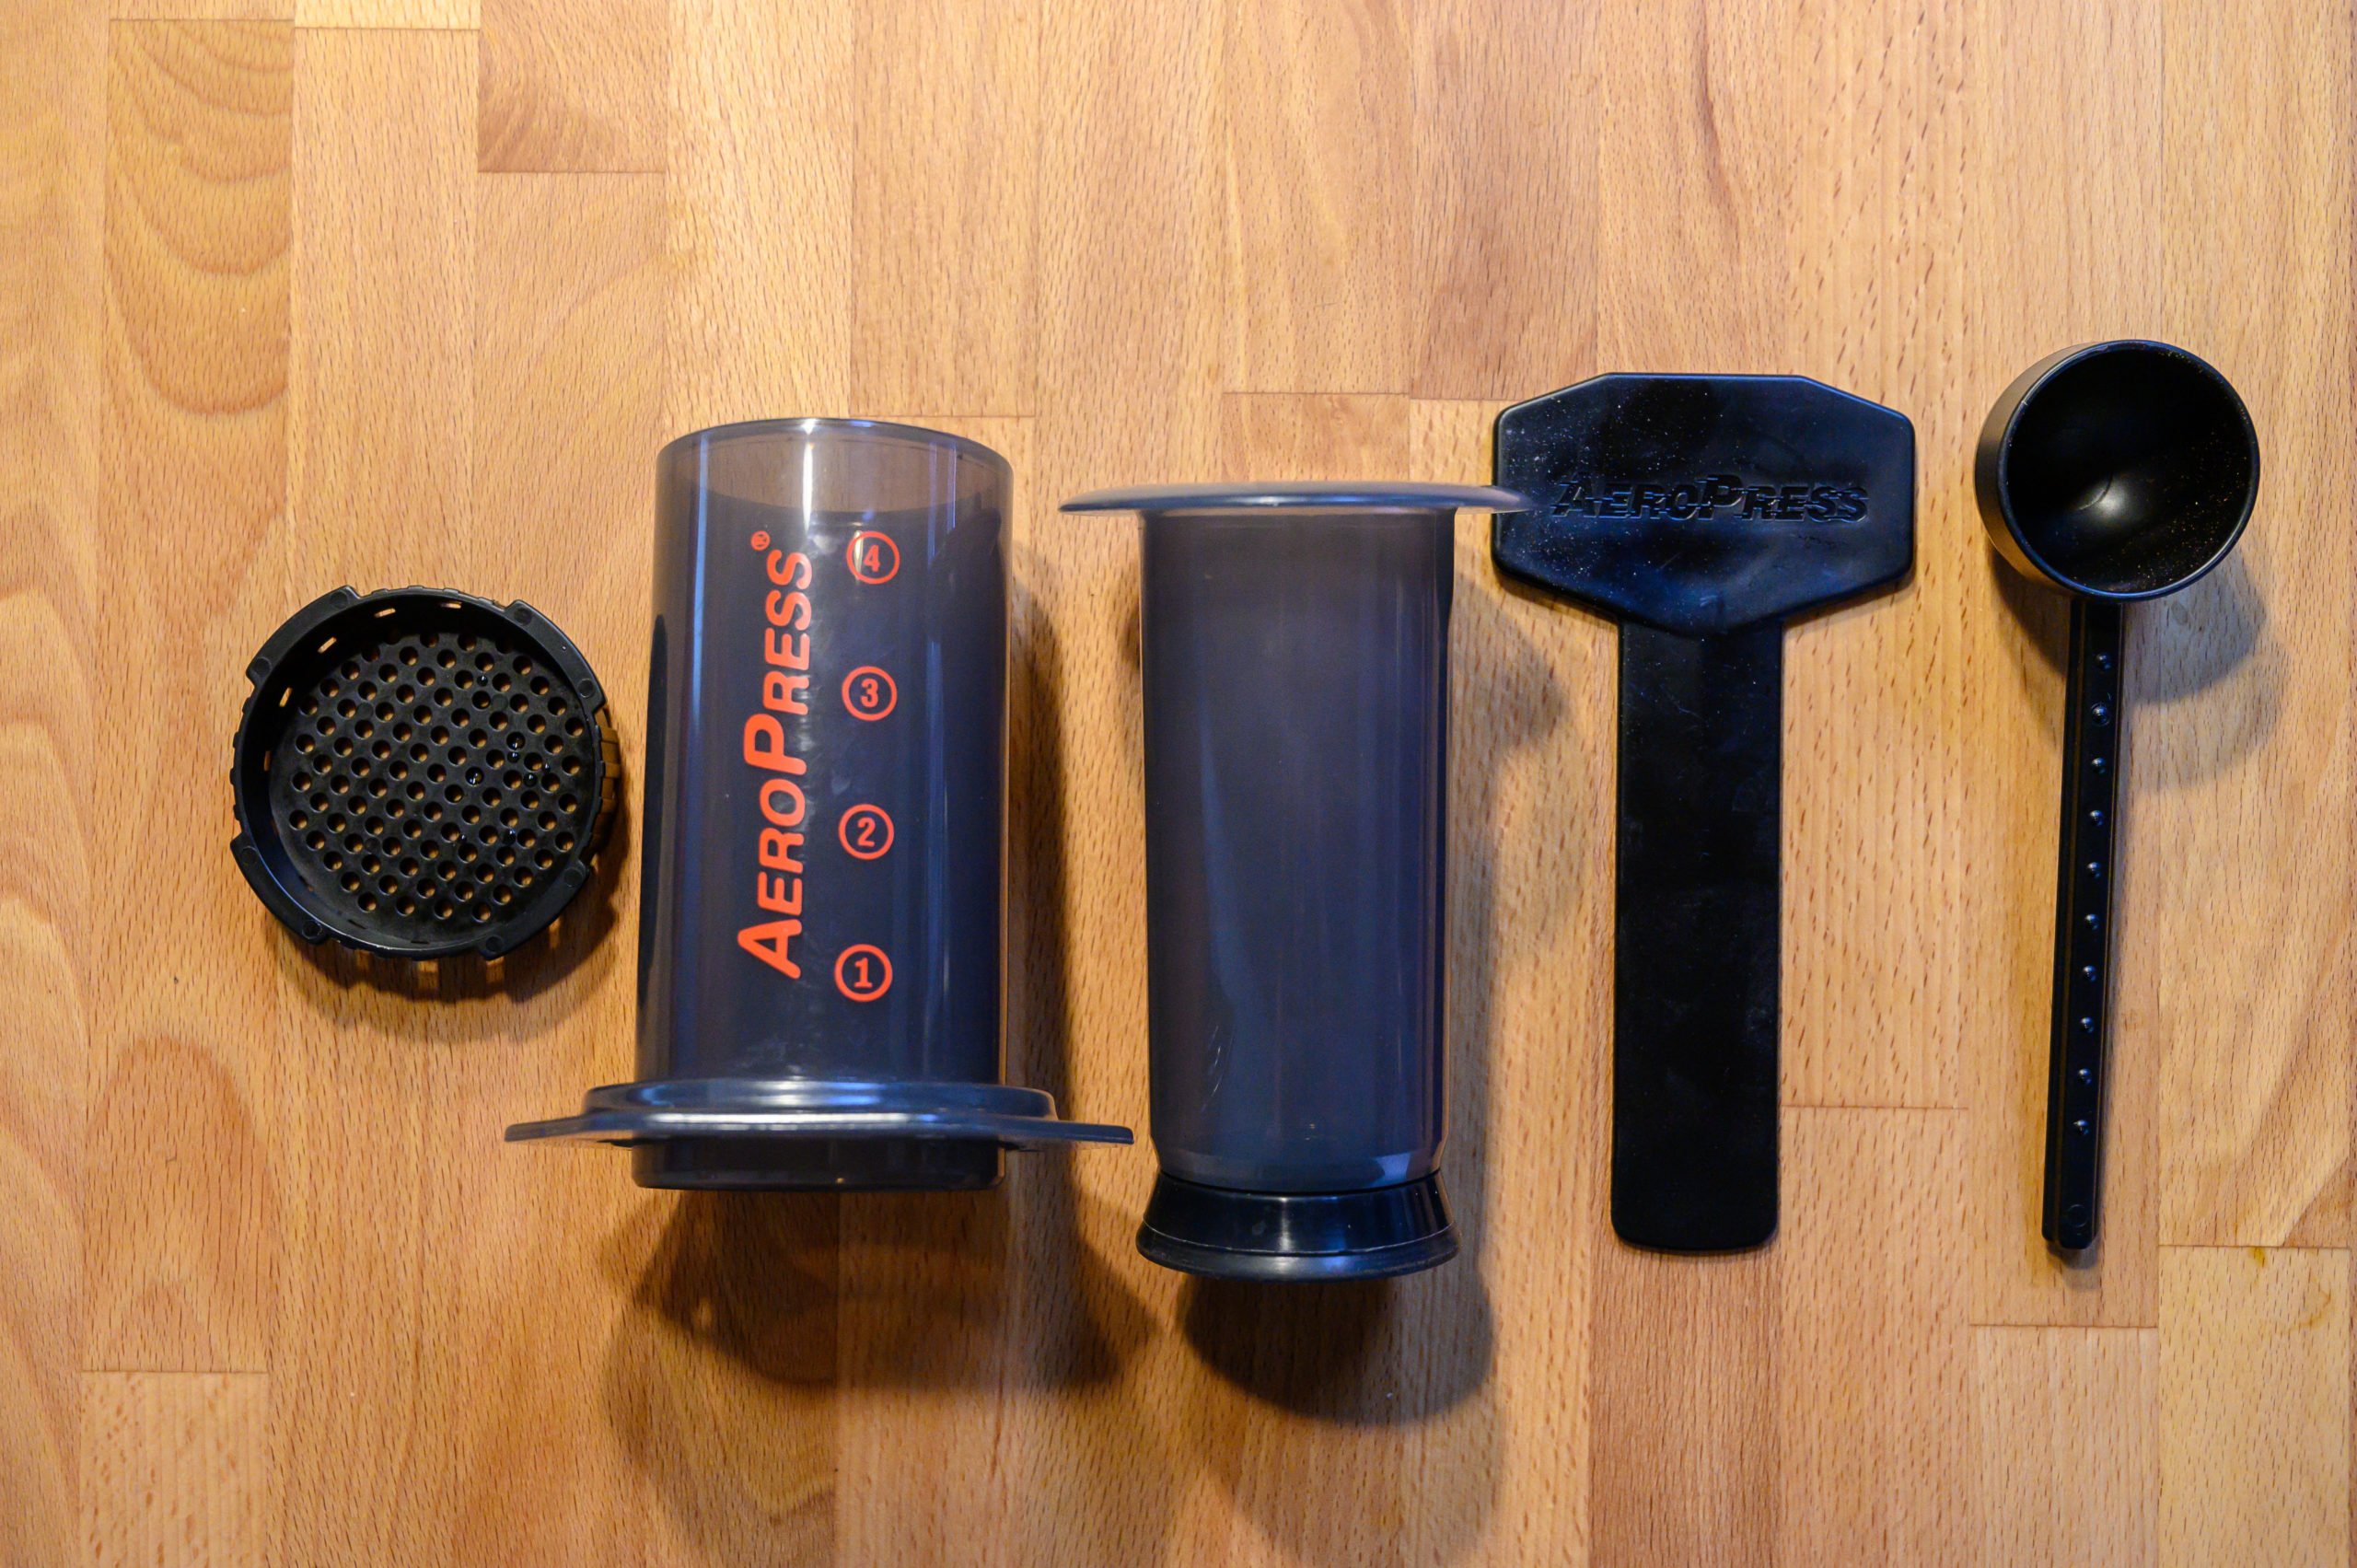
AeroPress components left to right: filter cap, chamber, plunger, stirring stick, and coffee scoop.
Drip Coffee
A drip coffee maker uses gravity to let the water slowly drip through the coffee and filter into your coffee pot. This means the coffee sits in the water for a longer period of time, and thus you tend to get a more acidic cup of coffee and lose some of the flavors along the way. Keurig’s single-serve coffee maker uses this gravity method too.
French Press
The method for making AeroPress coffee is similar to the French Press. You heat water, grind your coffee, add in the coffee grounds and water, then let it sit before “pressing” the water out and extracting your coffee. With the French Press, the coffee sits in the water and gathers more of the oils and acidity from the coffee grounds.
Whereas the AeroPress extracts the coffee directly into a mug, which keeps the coffee from sitting in the water, thereby eliminating the oily residue found in French Press coffee. They are very similar but create different styles of coffee–robust vs. smooth.
Coffee is coffee, but flavor is key.
I enjoy all methods of coffee brewing. Let’s face it– it’s still coffee. I’ll drink cowboy coffee and enjoy it. However, when I’m at home, I prefer a method that creates a more flavorful and enjoyable cup of coffee than, say, campfire coffee. No method is “wrong” in my opinion. However, some methods do taste better. It’s a matter of personal preference.
Speed vs. Flavor: The Great Coffee Dilemma
Keurig’s single-serve coffee machines are convenient, and they provide “instant” coffee gratification. On those mornings when I wake up so tired I don’t want to think before my coffee (okay, that’s most morning), I head to my Keurig machine. I drag myself to the kitchen and robotically place a K-cup (usually Don Francisco’s Hawaiian Hazelnut) into my coffee maker. About 60 seconds later, I’ve got a cup of coffee that I can make in my sleep. The Keurig is the ultimate in single-serve coffee efficiency.
However, some mornings, especially on the weekends, I want to start with a really good cup of coffee. It’s less about instant and more about savoring the deliciousness that is coffee. There are always those days where you can’t seem to get your coffee fast enough, but then there are those days where you want to slow down a little and really appreciate your morning cup of coffee.
This is where the AeroPress comes in, it takes a little more time, but afterward, when you’re sipping your coffee, you’ll think “it was worth it.” With the Keurig, you’re stuck with the grind and amount of coffee in each k-cup. However, with the AeroPress, you can customize each cup of coffee by changing your grind size, amount of coffee, and by using fresh ground, quality coffee beans. And isn’t that the main benefit of single-serve coffee? To create an individual cup made to order?
Quality Coffee Beans
When I began using my AeroPress, I was surprised at the amount of flavor that I could taste from the coffee that I missed when using my Keurig machine. Since then, I started sampling freshly roasted coffee from our local coffee roasters using Bean Box. You can read more about small-batch coffee and Bean Box in this article, but in short, it’s changed my coffee time at home.
My husband and I look forward to trying the new roasts we get each month from Bean Box and look forward to tasting the different flavors. This morning we both tried a special roast created for Father’s Day made using whiskey barrels; it’s incredible how much of the flavor you get coming through into the coffee!
In Summary:
- The Keurig K-cup single-serve coffee maker offers a quick and convenient cup of coffee.
- The Aeropress coffee maker takes a little more time and is a little more hands-on, but brews a more flavorful cup of coffee.
What I Like About the AeroPress vs Keurig
In addition to brewing a better-tasting cup of coffee, there are other reasons to consider using the AeroPress vs. Keurig for your single-serve coffee.
- The AeroPress costs less. The AeroPress is $30 vs. the Keurig machines, which start around $80 and up.
- It’s cheaper to buy coffee by the pound than by the pod. K-cups tend to be expensive, and although you can purchase a reusable K-cup, most people don’t regularly use that. The AeroPress doesn’t use pods, just ground coffee, making it more affordable.
- The AeroPress is also more environmentally friendly. Most K-cups are made from plastic, whereas the AeroPress uses compostable paper filters. You can even purchase a reusable metal filter if you prefer. The AeroPress comes with 300 microfilters, and to buy more, it’s around $4 for a pack of 350.
- The AeroPress is portable. I love that I can take the AeroPress camping or traveling. Its small footprint makes it easy to pack and go.
- The AeroPress brews a less acidic, smooth, full-flavored coffee. You lose a lot of the flavor with the Keurig k-cups and have less control over the acidity and strength.
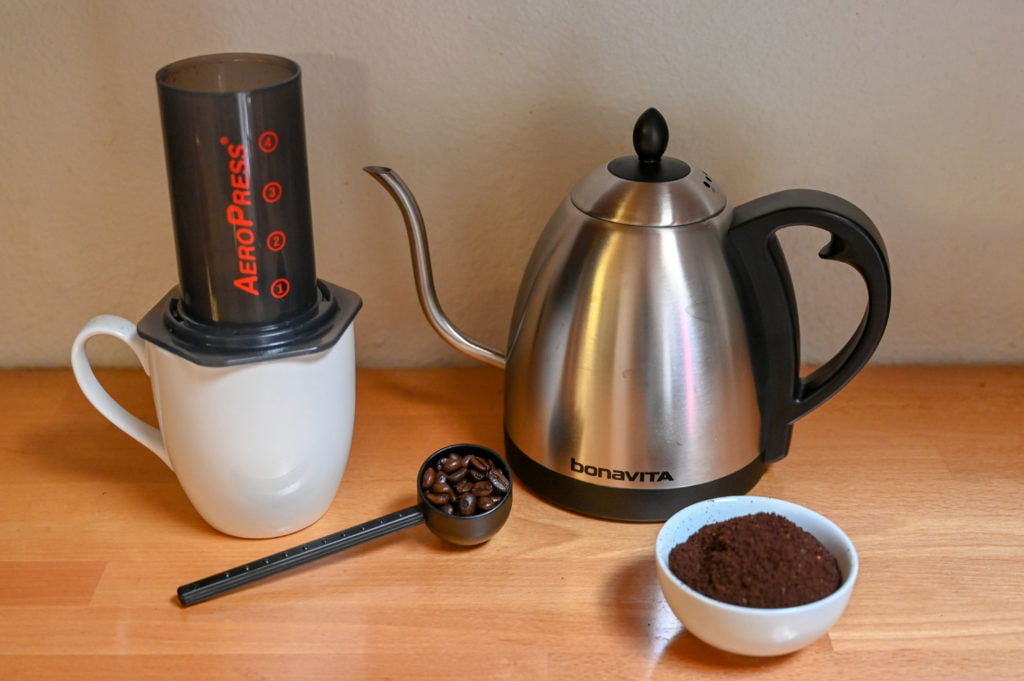
What You'll Need to Make AeroPressCoffee
Equipment You’ll Need:
- The AeroPress Coffee Maker
- Microfilters ((Each AeroPress coffee maker comes with 350 microfilters.)
- Hot water kettle (I’ve seen some people heat their water in the microwave, but I prefer using a kettle.)
- Thermometer (Often overlooked, a thermometer is the best way to get the right temperature for full-flavor extraction. Some kettles have this built-in, if you don’t have a thermometer, bring your water to a boil, then set off the heat for 1-2 minutes.)
- Coffee Grinder (optional) You can purchase it ground at the store. However, I prefer to grind fresh right before using it.
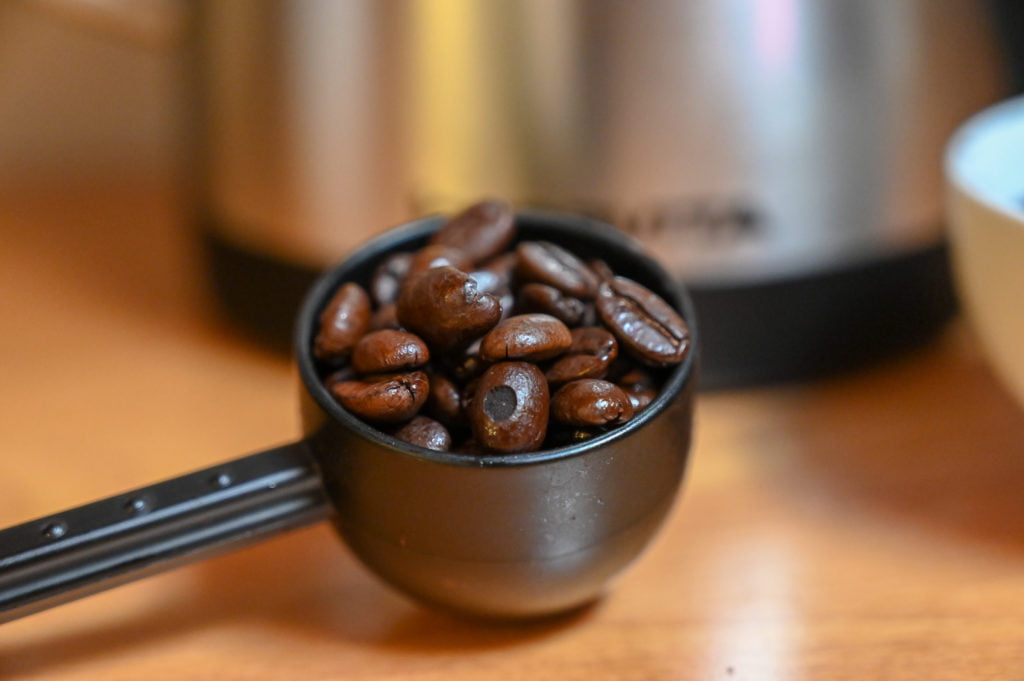
- Ground Coffee (fresh ground is best) (I used the Portofino Blend for this post.)
- Kitchen Scale (optional) If you want to get more technical with your coffee brewing, a kitchen scale is great for weighing out the exact amounts of coffee and water to create your personalized recipe.
How to Make Single-Serve Coffee 3 Ways with an AeroPress
The Regular Method: A Tutorial for Beginners
Regular Brewing Method Instructions
- Heat Water to 200 degrees Fahrenheit. (You can use any temp between 180 degrees and 205 degrees Fahrenheit. I’m sharing my method. Feel free to customize to your liking.)
- Rinse the paper filter with heated water, then discard the water and place the AeroPress chamber with filter and filter cap in place on top of a mug.
- Add two heaping scoops of ground coffee to the chamber. (Medium to medium-coarse grind. 2 heaping scoops is around 25 grams of coffee.) Then gently shake the chamber to level the grounds.
- Add water to cover the coffee grounds (just below the 2 line)
- Stir about 15 times. Then wait about 30 seconds for the coffee to bloom.
- Add in water to just above the 3 line (~ 200g water). Wait 1 minute.
- Insert the plunger at an angle (this helps create the air pressure) then apply firm pressure straight down slowly but steadily until the plunger reaches the bottom.
- Remove the filter cap, rinse, and set aside. Then expel the coffee and filter into the trash and rinse the AeroPress chamber and plunger before placing it aside.
- Enjoy your cup of coffee! You can add 1/2 cup to 3/4 cup hot water to make an Americano-style coffee. If you drink it straight without adding water, it will be a very strong cup of coffee!
The Inverted Method
The Inverted Method Instructions
- Heat Water to 200 degrees Fahrenheit.
- Insert the plunger into the top of the chamber, so it’s touching the number 4 line. Set the AeroPress on the counter with the filter side on the top (upside down from the regular method). The plunger should now be resting on the counter with the filter-side up.
- Add two heaping scoops of ground coffee to the chamber. (Medium to medium-coarse grind)
- Add water to cover the coffee grounds.
- Wait about 30 seconds, then add water to about the top of the chamber (~ 200g water)
- Gently stir the water and coffee.
- Wait 2 minutes.
- Rinse a paper filter with warm water, then place the filter in the filter camp and gently attach to the AeroPress chamber. Be careful not to dislodge the plunger from the chamber.
- Carefully place a mug upside down over the filter cap and flip the AeroPress right side up on to the coffee mug. It should now be sitting on top of the mug just as in the regular method.
- Push straight down on the plunger for about 20 seconds until you reach the bottom.
- Remove the filter cap, rinse, and set aside. Then expel the coffee grounds and filter and rinse the AeroPress chamber and plunger before setting it aside.
- Enjoy your cup of coffee! (Add in hot water to make an Americano-style coffee.)
Faux Espresso & Latte
How to Make an Espresso or Latte with the AeroPress (or as close as you can get)
- Heat Water to 200 degrees Fahrenheit.
- Rinse the paper filter with heated water, then discard the water and place the filter in the filter cap and attach it to the AeroPress chamber.
- Add two scoops of finely ground coffee to the chamber. (It’s important to have fine ground coffee to create more pressure and a stronger brew.) Then gently shake the chamber to level the grounds.
- Tamp down the grounds inside the brewing chamber using a spice grinder, bottle, or hand-held coffee grinder. Any object that fits inside the chamber and is long enough to hold on to. Firmly press down the grounds to compact them.
- Wet a second microfilter and place it on the bottom of your tamping object. Then carefully insert this along with the tamper inside the chamber. Now tamp down this filter on top of your coffee.
- Add 150 ml (2/3 cup) of water heated to 200 degrees to the chamber.
- Without waiting, insert the plunge and apply firm pressure straight down until the plunger hisses and reaches the bottom. (There will be a lot more pressure using this method, and it will be a lot harder to push down. If needed, pull up a little on the plunger and push down again if the pressure is too much.)
- Remove the filter cap, rinse, and set aside. Then expel the coffee and filter into the trash and rinse the AeroPress chamber and plunger before putting it aside.
- Enjoy your faux shot of espresso.
Latte Tips:
If you want to make this into a latte, heat 1/2 cup of milk with one tablespoon of half-and-half and froth using a milk frother like this one, or using a French Press.
If using a French Press: Add heated milk to the French press, push the French press plunger into the milk, and with short quick and up and down movement, froth your milk until it has doubled in size. Add to the coffee and voila! A latte!

Additional Tips for Making AeroPress Coffee
- Make sure to use a sturdy coffee mug as you’ll apply a lot of downward force on top of the coffee mug during the brewing process.
- You can rinse and reuse the paper filters, and they are also compostable.
- Adjust the water temperature to your personal preferences. Lower temperatures usually result in a milder, smoother finish, while higher temperatures provide a little more robust flavor.
- Have fun with it! Play around with the water temperature and amount of coffee to create your personalized cup of coffee. Most people use anywhere between 17g of ground coffee to 30g of ground coffee for the best flavor. The great thing about single-serve coffee is each cup is made to order!
- When storing your AeroPress, you don’t want to leave the plunger seal stuck inside the chamber, as this can cause it to wear down more quickly over time. Store the plunger and chamber separately or with the plunger pushed all the way through so the seal is sticking out the other side.
More Coffee-Related Articles
Check out these posts to stir your coffee passions further (Do you like what I did there?):
- Vietnamese Coffee Made Three Ways
- My Favorite Ways to Make Campfire Coffee
- Awesome Gift Ideas for Coffee Lovers
- Not Your Mama’s Jello: Japanese Coffee Jelly Recipe
Happy Caffeinating!


No Comments