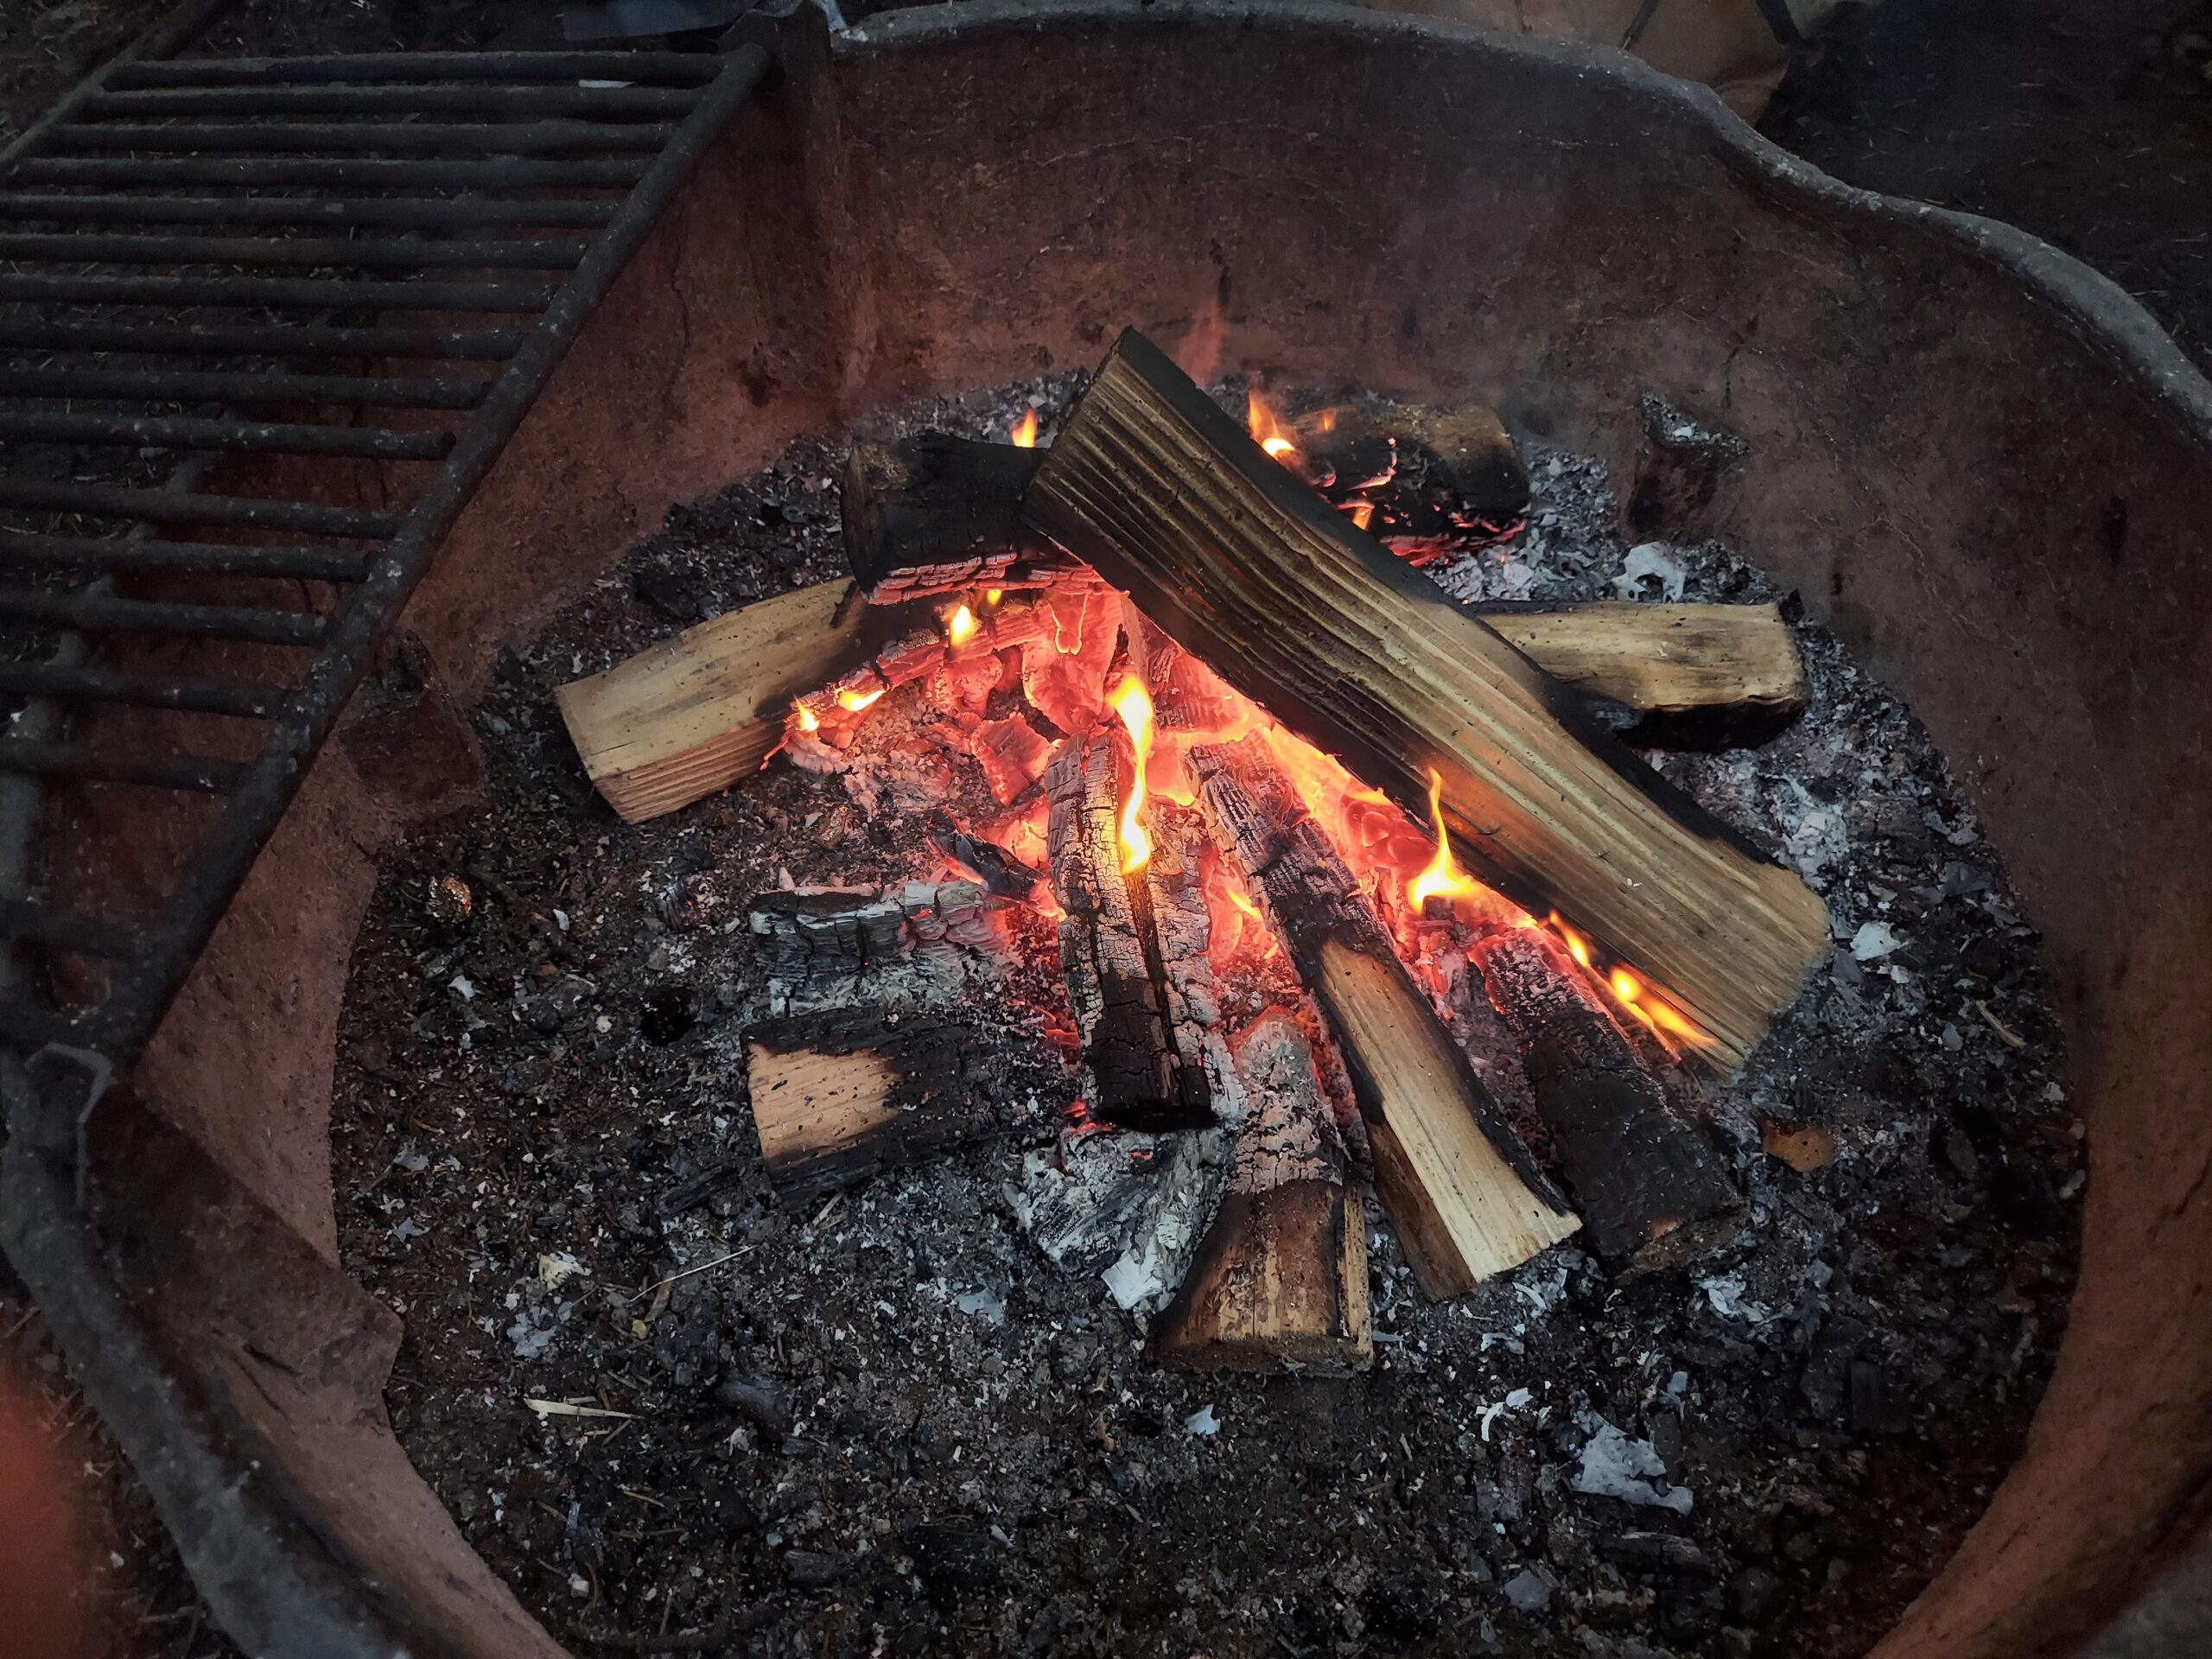
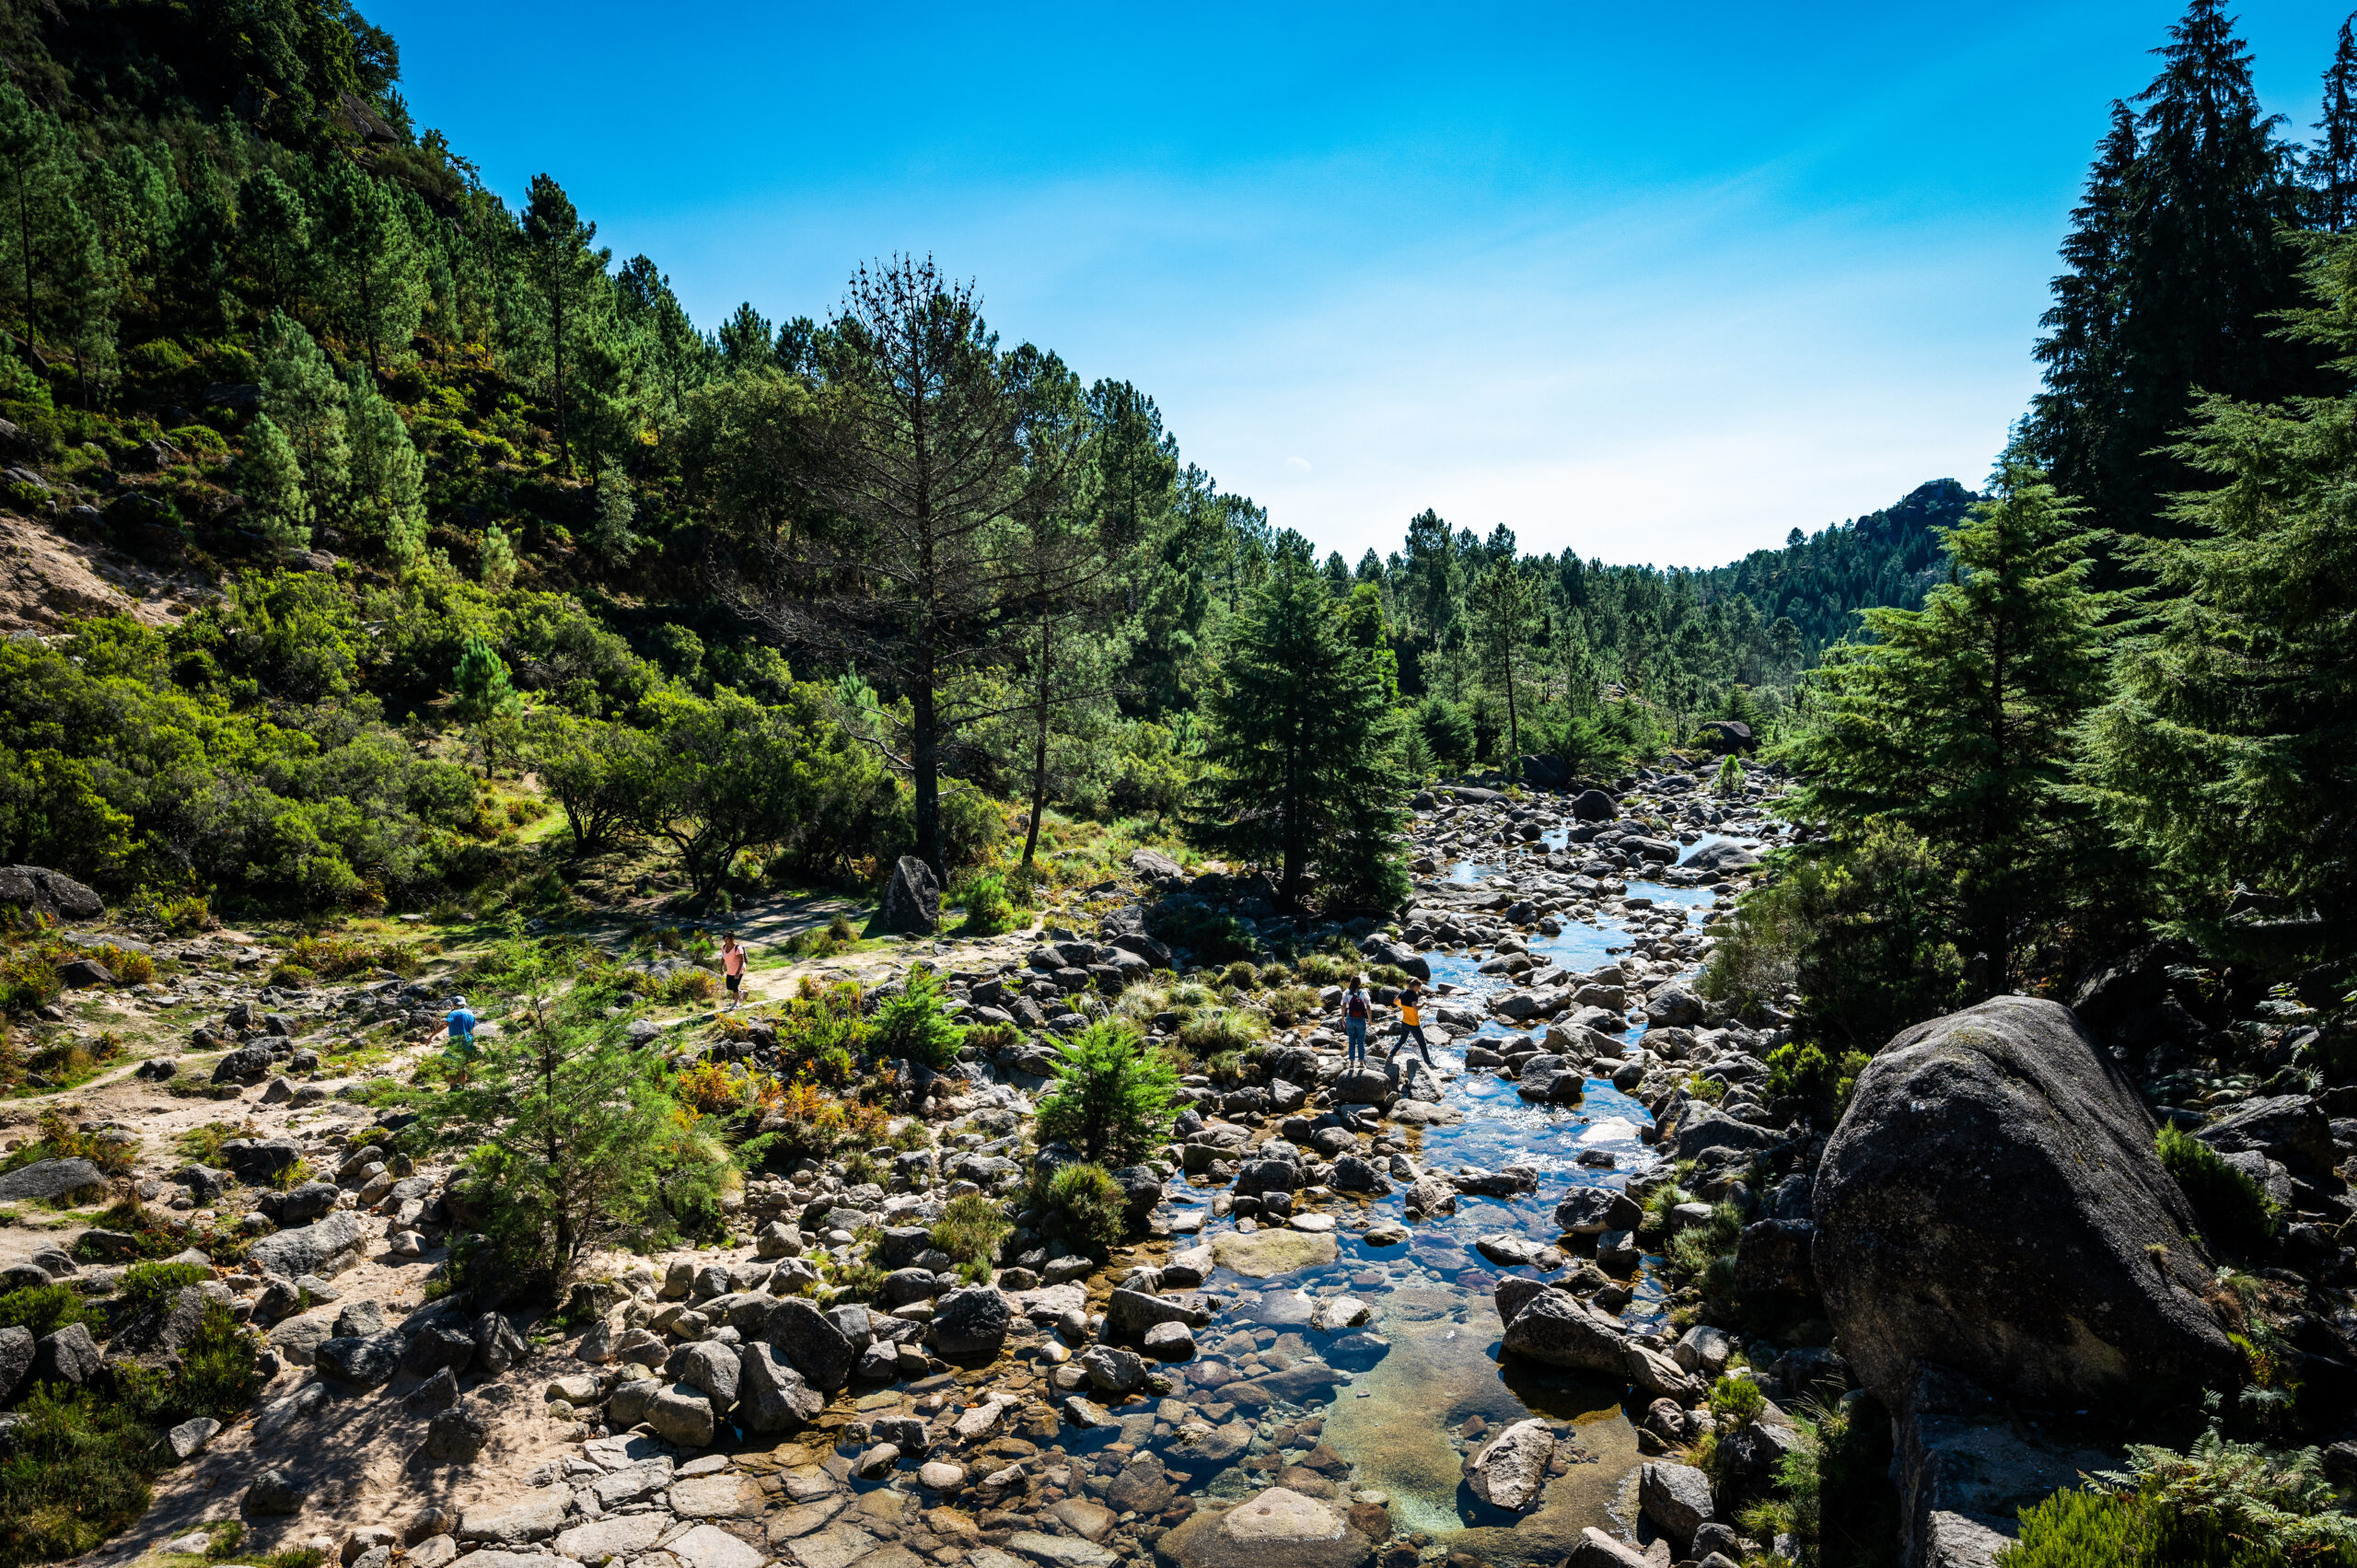
I love waking up to crisp fresh air, falling asleep to the sounds of nature, and roasting marshmallows around a campfire. So I give up some comforts of home for a few days to enjoy living in the great outdoors. I won’t, however, give up my coffee. I have to make coffee when camping. It’s a part of the camp experience I look forward to each morning. Alright, it’s a part of the life experience I look forward to daily, but when camping, it’s a little extra special to sit there with a hot mug of delicious campfire coffee. The coffee tells me that it doesn’t matter that I only slept four hours the night before and that I haven’t showered in two days, all that matters is that I have coffee and I’m in a beautiful place. It also matters to the people I camp with, as I would be a much grumpier companion without it. I have tried a variety of ways to make coffee while camping, and these are a few of my favorite methods. I think they’re also some of the easiest and most flavorful ways to make coffee while camping. Whether you’re camping with a group, or by yourself, car camping or backpacking, there is an option for everyone. So let’s get to it!
Cowboy Coffee
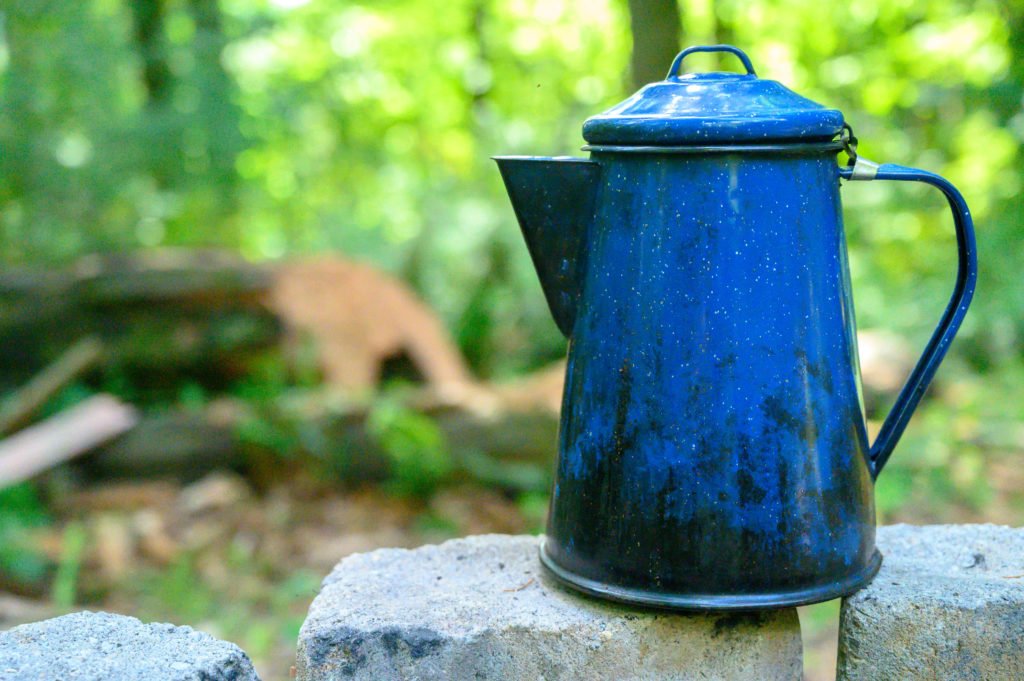
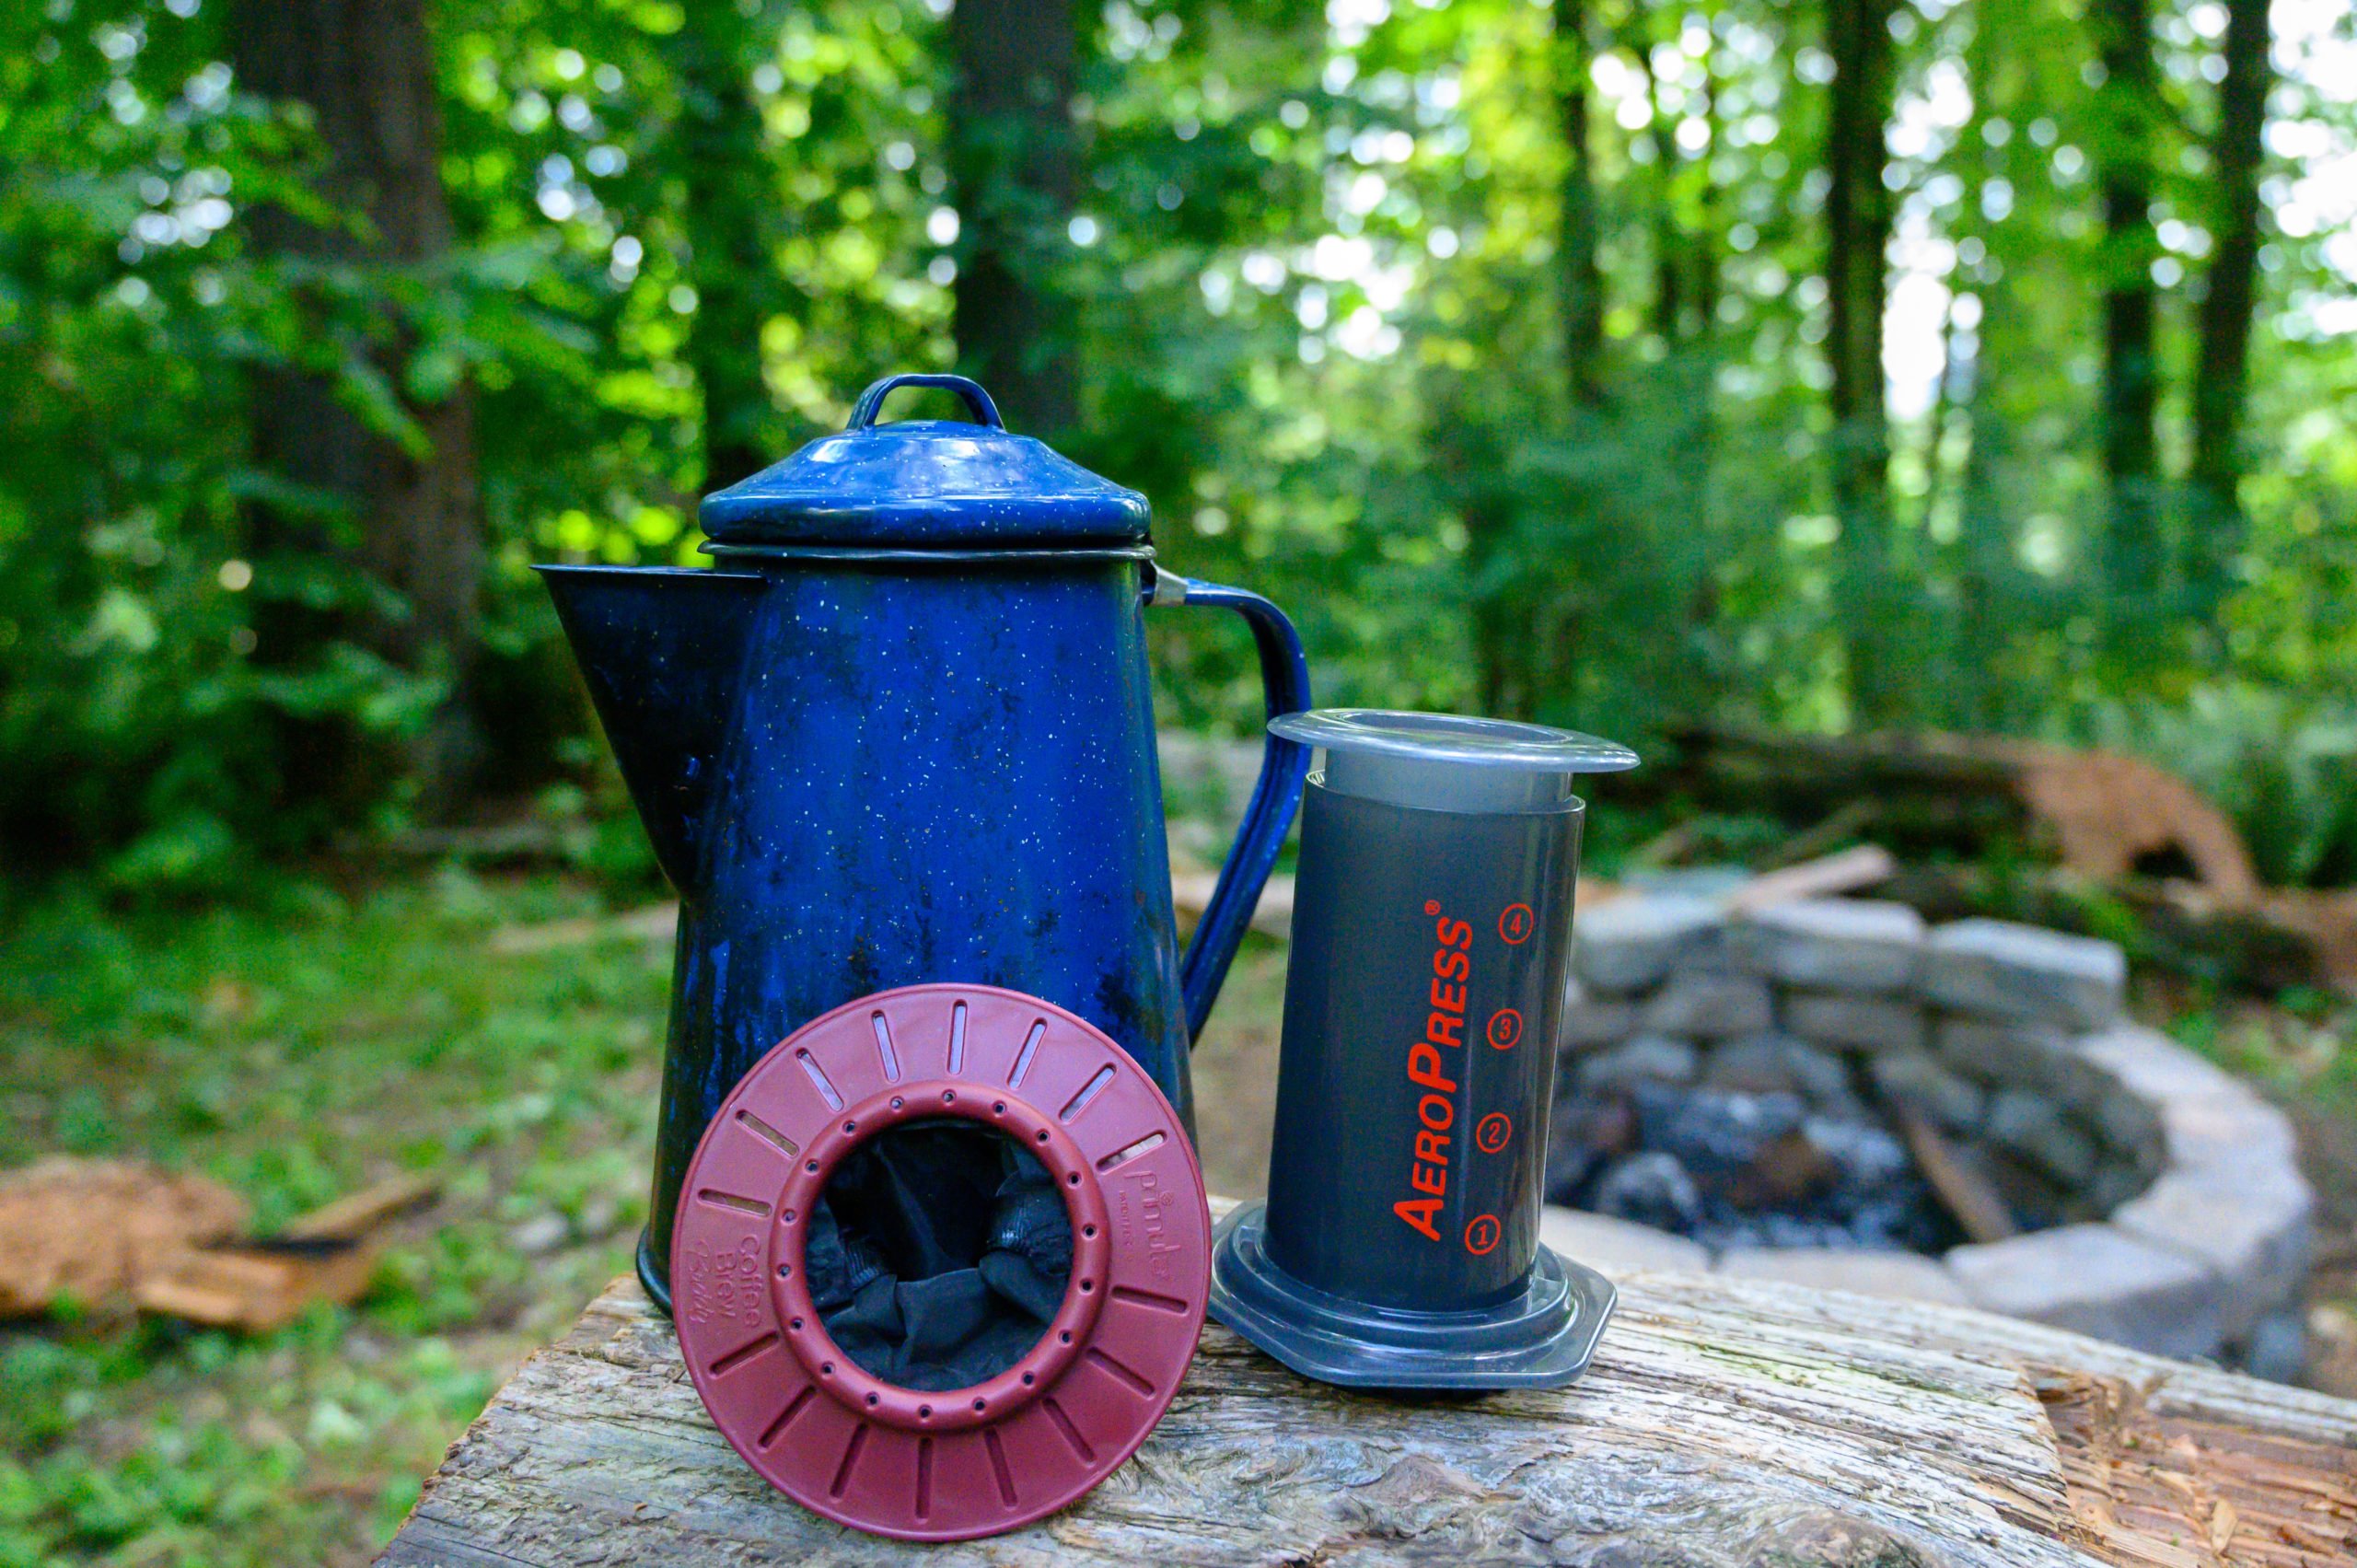
Cowboy Coffee is the tried and true method to make coffee when camping. If it is good enough for rough and tough cowboys, it’s good enough for me! I love this method for brewing campfire coffee as it is so simple, you don’t need a bunch of equipment, and it’s also great for crowds. I own an 8-cup enamel coffee maker like this one. However, you can get them in all different sizes and from a variety of companies. So choose the size that makes sense for your coffee needs. The idea behind cowboy coffee is pretty simple, you boil water, add coffee, let it steep, and then you drink it! Simple as that. To avoid bitter coffee or a bunch of grounds in your cup, follow the steps below. Here’s the recipe I use for my 8-cup coffee pot. Adjust according to the size of your coffee maker and personal preferences. I find that the amount of coffee I use also depends on the coffee beans I’m using, so you may have to play around with the ratios to get your preferred strength.
Equipment:
- Coffee Pot made for use over a fire or stove (I use an 8-cup enamel coffee maker for this recipe)
- Measuring cup or tablespoon
- Wooden Spoon (for stirring)
- Campfire or camp stove
- Towel or Grill Gloves (to avoid burning yourself when you take the coffee pot off the heat)
- Your favorite camping coffee mug
- Thermos or Carafe (optional)
Ingredients:
- Water for boiling in a coffee pot
- ~ 1 cup medium to coarse ground coffee per pot (measure according to the size of your coffee pot, approximately 2 tbsp of ground coffee per 8 oz of water)
- 1/4-1/2 cup cold water (depends on the size of the coffee pot)
- Optional Ingredients: sugar, half-n-half, coffee creamer, cinnamon to sprinkle on top
- My Favorite Roast Type: Medium Roast
Instructions:
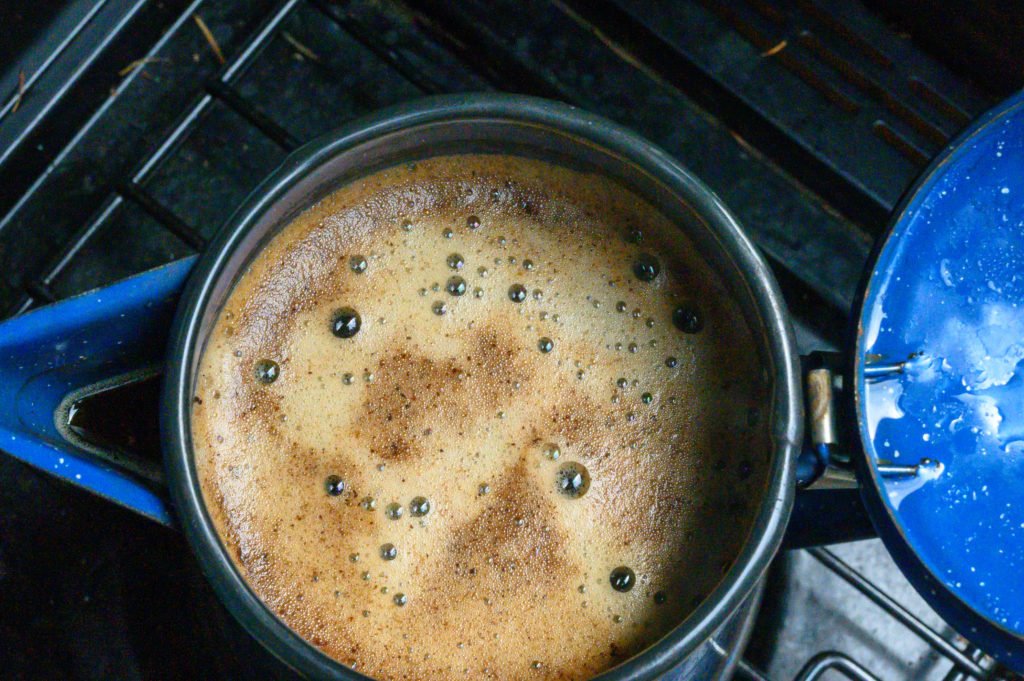
- Bring water to a rolling boil in your coffee pot.
- When the water is boiling, take it off the heat.
- Let it sit for about 45 seconds. This brings the water temp down below the boiling point. The ideal coffee temperature is around 195°F to 205°F. By allowing your boiling water to cool a little, it helps you avoid brewing a bitter cup of coffee and instead extract the best flavor from the coffee grinds.
- Add your coffee and slowly stir into the water with a long wooden spoon. Close the lid.
- Wait about 2 minutes.
- Stir again and wait another 2 minutes. (I keep the lid closed to retain heat.)
- Then add about 1/4 cup cold water to the spout and on top of the coffee. I dribble a little down the spout first. Then, I open the lid to my coffee maker and sprinkle a little on top. The cold water helps settle the grinds to the bottom of the coffee pot, so you don’t get a cup full of coffee grounds—yuck!
- Let this sit for about another minute.
- Slowly pour a cup of hot, steaming deliciousness and enjoy! (You’ll want to pour the coffee carefully, so you don’t disturb the grounds that have settled onto the bottom of the pot)
Notes:
If you don’t plan on drinking your coffee right away, you may want to pour it into a separate carafe or thermos to keep it hot for later. The longer the coffee sits in the pot with the coffee grounds, the stronger (and more bitter) it will get.
AeroPress Coffee
If you want to make coffee when camping but don’t want to sacrifice any of the flavors, the AeroPress coffee maker is your best bet. You can use it to make espresso, lattes, or an Americano all from the picnic table at your campsite. Although I’ve also made French Press coffee when camping, now I prefer using the AeroPress as it brews a smoother and less acidic cup of coffee.
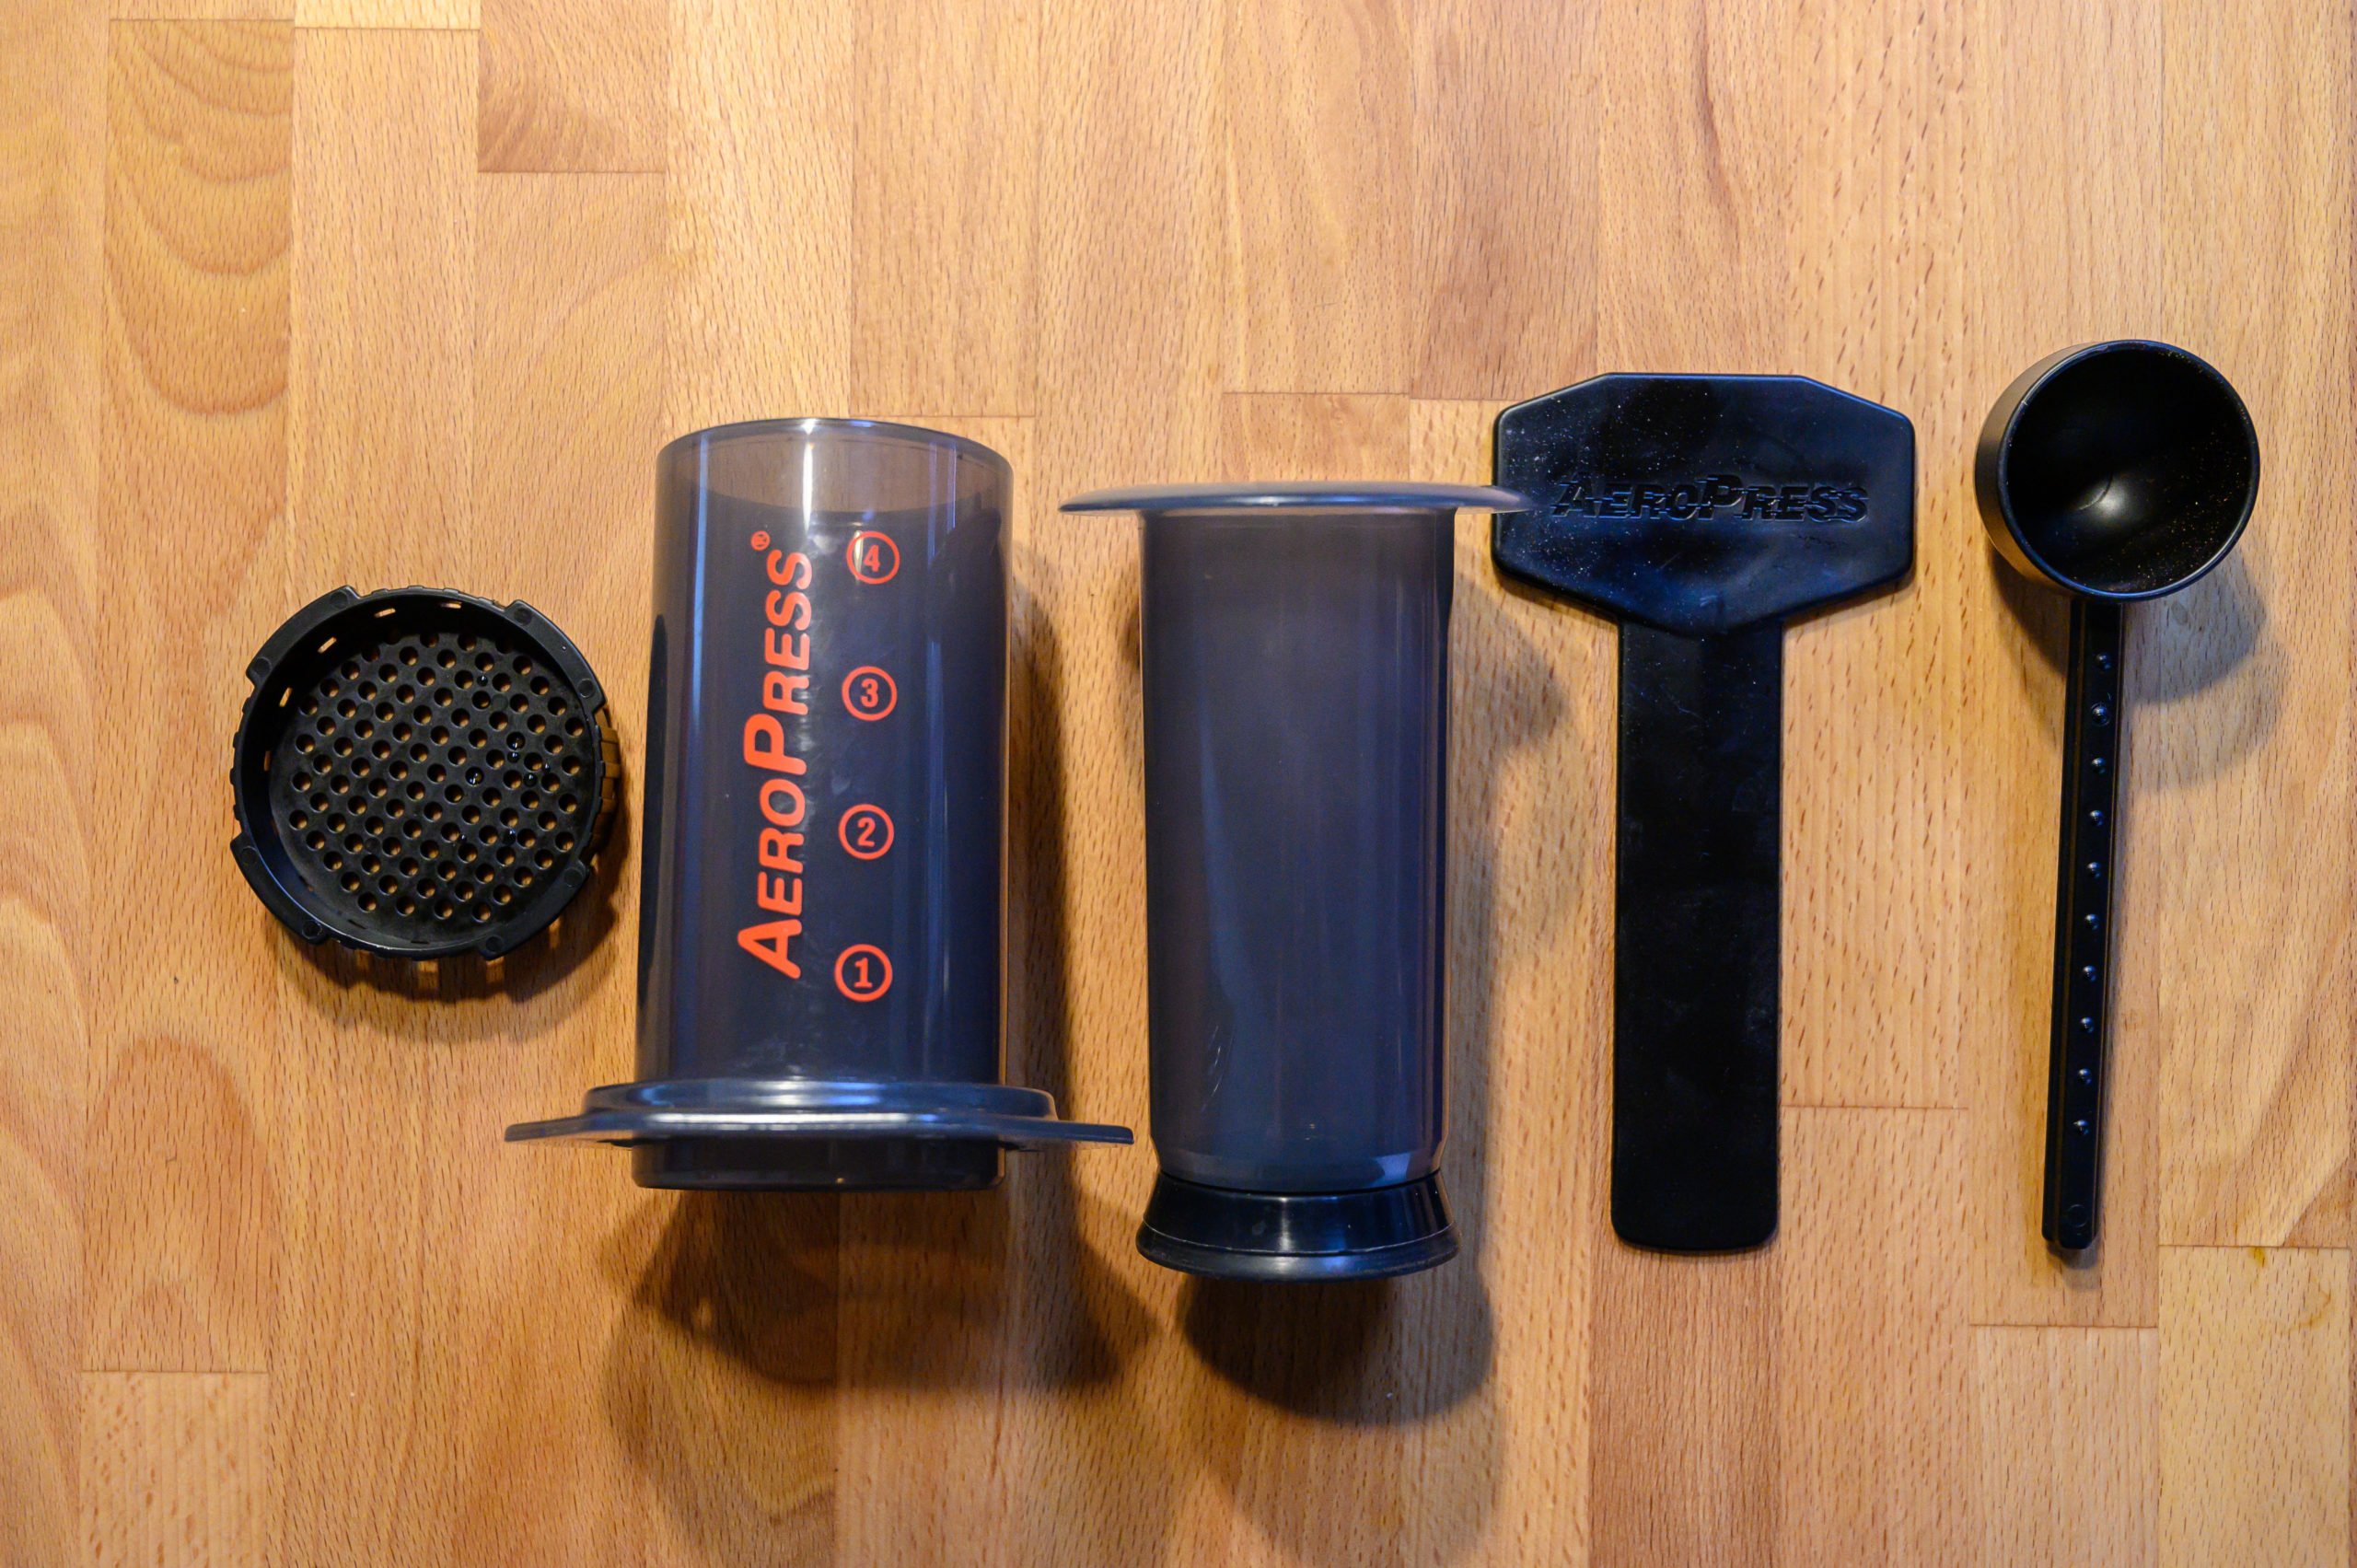
Three main parts of the AeroPress coffee maker:
- Chamber (it’s the long plastic piece with numbers written on the side)
- Plunger (the long piece of plastic with a rubber end)
- Filter cap (attaches to the bottom of the chamber)
There are a variety of ways to make coffee using the AeroPress. However, since this is for campfire coffee, I kept the equipment and the method as simple as possible. Below are instructions for brewing an Americano or drip-style coffee. I will also give tips for brewing an espresso-style or latte. An important thing to note is that you need a sturdy coffee mug to use with the AeroPress. You cannot use a paper cup for this method as you apply firm pressure when pushing down on the plunger to extract the coffee. A paper cup would not hold up.
Equipment:
- AeroPress Coffee Maker (Use a 20% off coupon at Bed Bath & Beyond for the best deal)
- Coffee Scoop (the AeroPress comes with one that is equal to 2.5 tbsp or 3 tbsp heaping)
- AeroPress microfilters (each AeroPress comes with a starter pack)
- Stirring Utensil (the AeroPress comes with a special stirring stick, you can also use a spoon)
- Coffee Pot made for use over a fire or stove (for boiling water)
- Campfire or camp stove
- Towel or Grill Gloves (to avoid burning yourself when you take the coffee pot off the heat)
- Sturdy coffee mug (Needs to be sturdy enough to handle the pressure of the AeroPress being pushed down on top)
Ingredients:
- Water for boiling
- Medium-fine ground coffee (~ 6 tbsp per brew)
- Additional hot water to make an Americano or drip-style coffee (optional)
- Optional Ingredients: sugar, half-n-half, milk (for a latte) coffee creamer, cinnamon to sprinkle on top
- My Favorite Roast Type: Light or Medium Roast (AeroPress works well for Light Roasts and allows to the subtler flavors to shine through)
Instructions:
- Boil water (at least 16 ounces).
- Remove from heat and let sit for about 1-2 minutes. A water temp anywhere between 180°F to 205°F works well with the AeroPress.
- Prep your AeroPress by placing a microfilter in the filter cap, and attach it to the AeroPress chamber, then place it over your coffee mug.
- Pour a little hot water over the empty coffee filter to rinse it out, then dump the water out of your mug and place the AeroPress back on top of your cup.
- Add two rounded scoops of coffee (~6 tbsp) to your AeroPress chamber and give it a little shake to even out the coffee grinds.
- Pour hot water into the AeroPress to just below the number two. Stir for 10 seconds.
- Then add enough hot water to come to the top of the number three. Wait 1 minute.
- Insert the plunger into the top of the AeroPress chamber and gently press down. Don’t force the plunger down. You’ll feel a slight resistance as you push down. If it feels too hard to push, then gently pull up slightly and then push down again. It should take about 30 seconds to push the plunger to the bottom.
- Remove the AeroPress maker from your coffee mug and add about 3/4 cup of hot water to the coffee to create a 12-ounce Americano style coffee. Adjust the amount of water to get the coffee strength you prefer.
- Take the Aeropress and unscrew the filter cap (be careful as it may be hot). Then hold the AeroPress over a plate or trash bag and push down on the plunger to expel the filter and coffee grounds. Rinse the bottom of the Aeropress chamber and plunger with cold water, and it’s ready to use again.
Tips for Making an Espresso Style Coffee:
For an espresso-style coffee, use the same amount of coffee, but add less water. Add water to just below the number two, stir for about 10 seconds, then slowly plunge to extract the coffee. Drink this shot of coffee without adding any water.
Tips for Making a Latte:
Make a brew according to the Espresso instructions above, then add warm milk to the coffee (I use about a 1/2 cup of milk). If you want to get fancy, you can bring one of these battery-powered milk frothers to froth your milk. Now, won’t you feel special drinking your latte while sitting around the campfire!
Brew Buddy Coffee
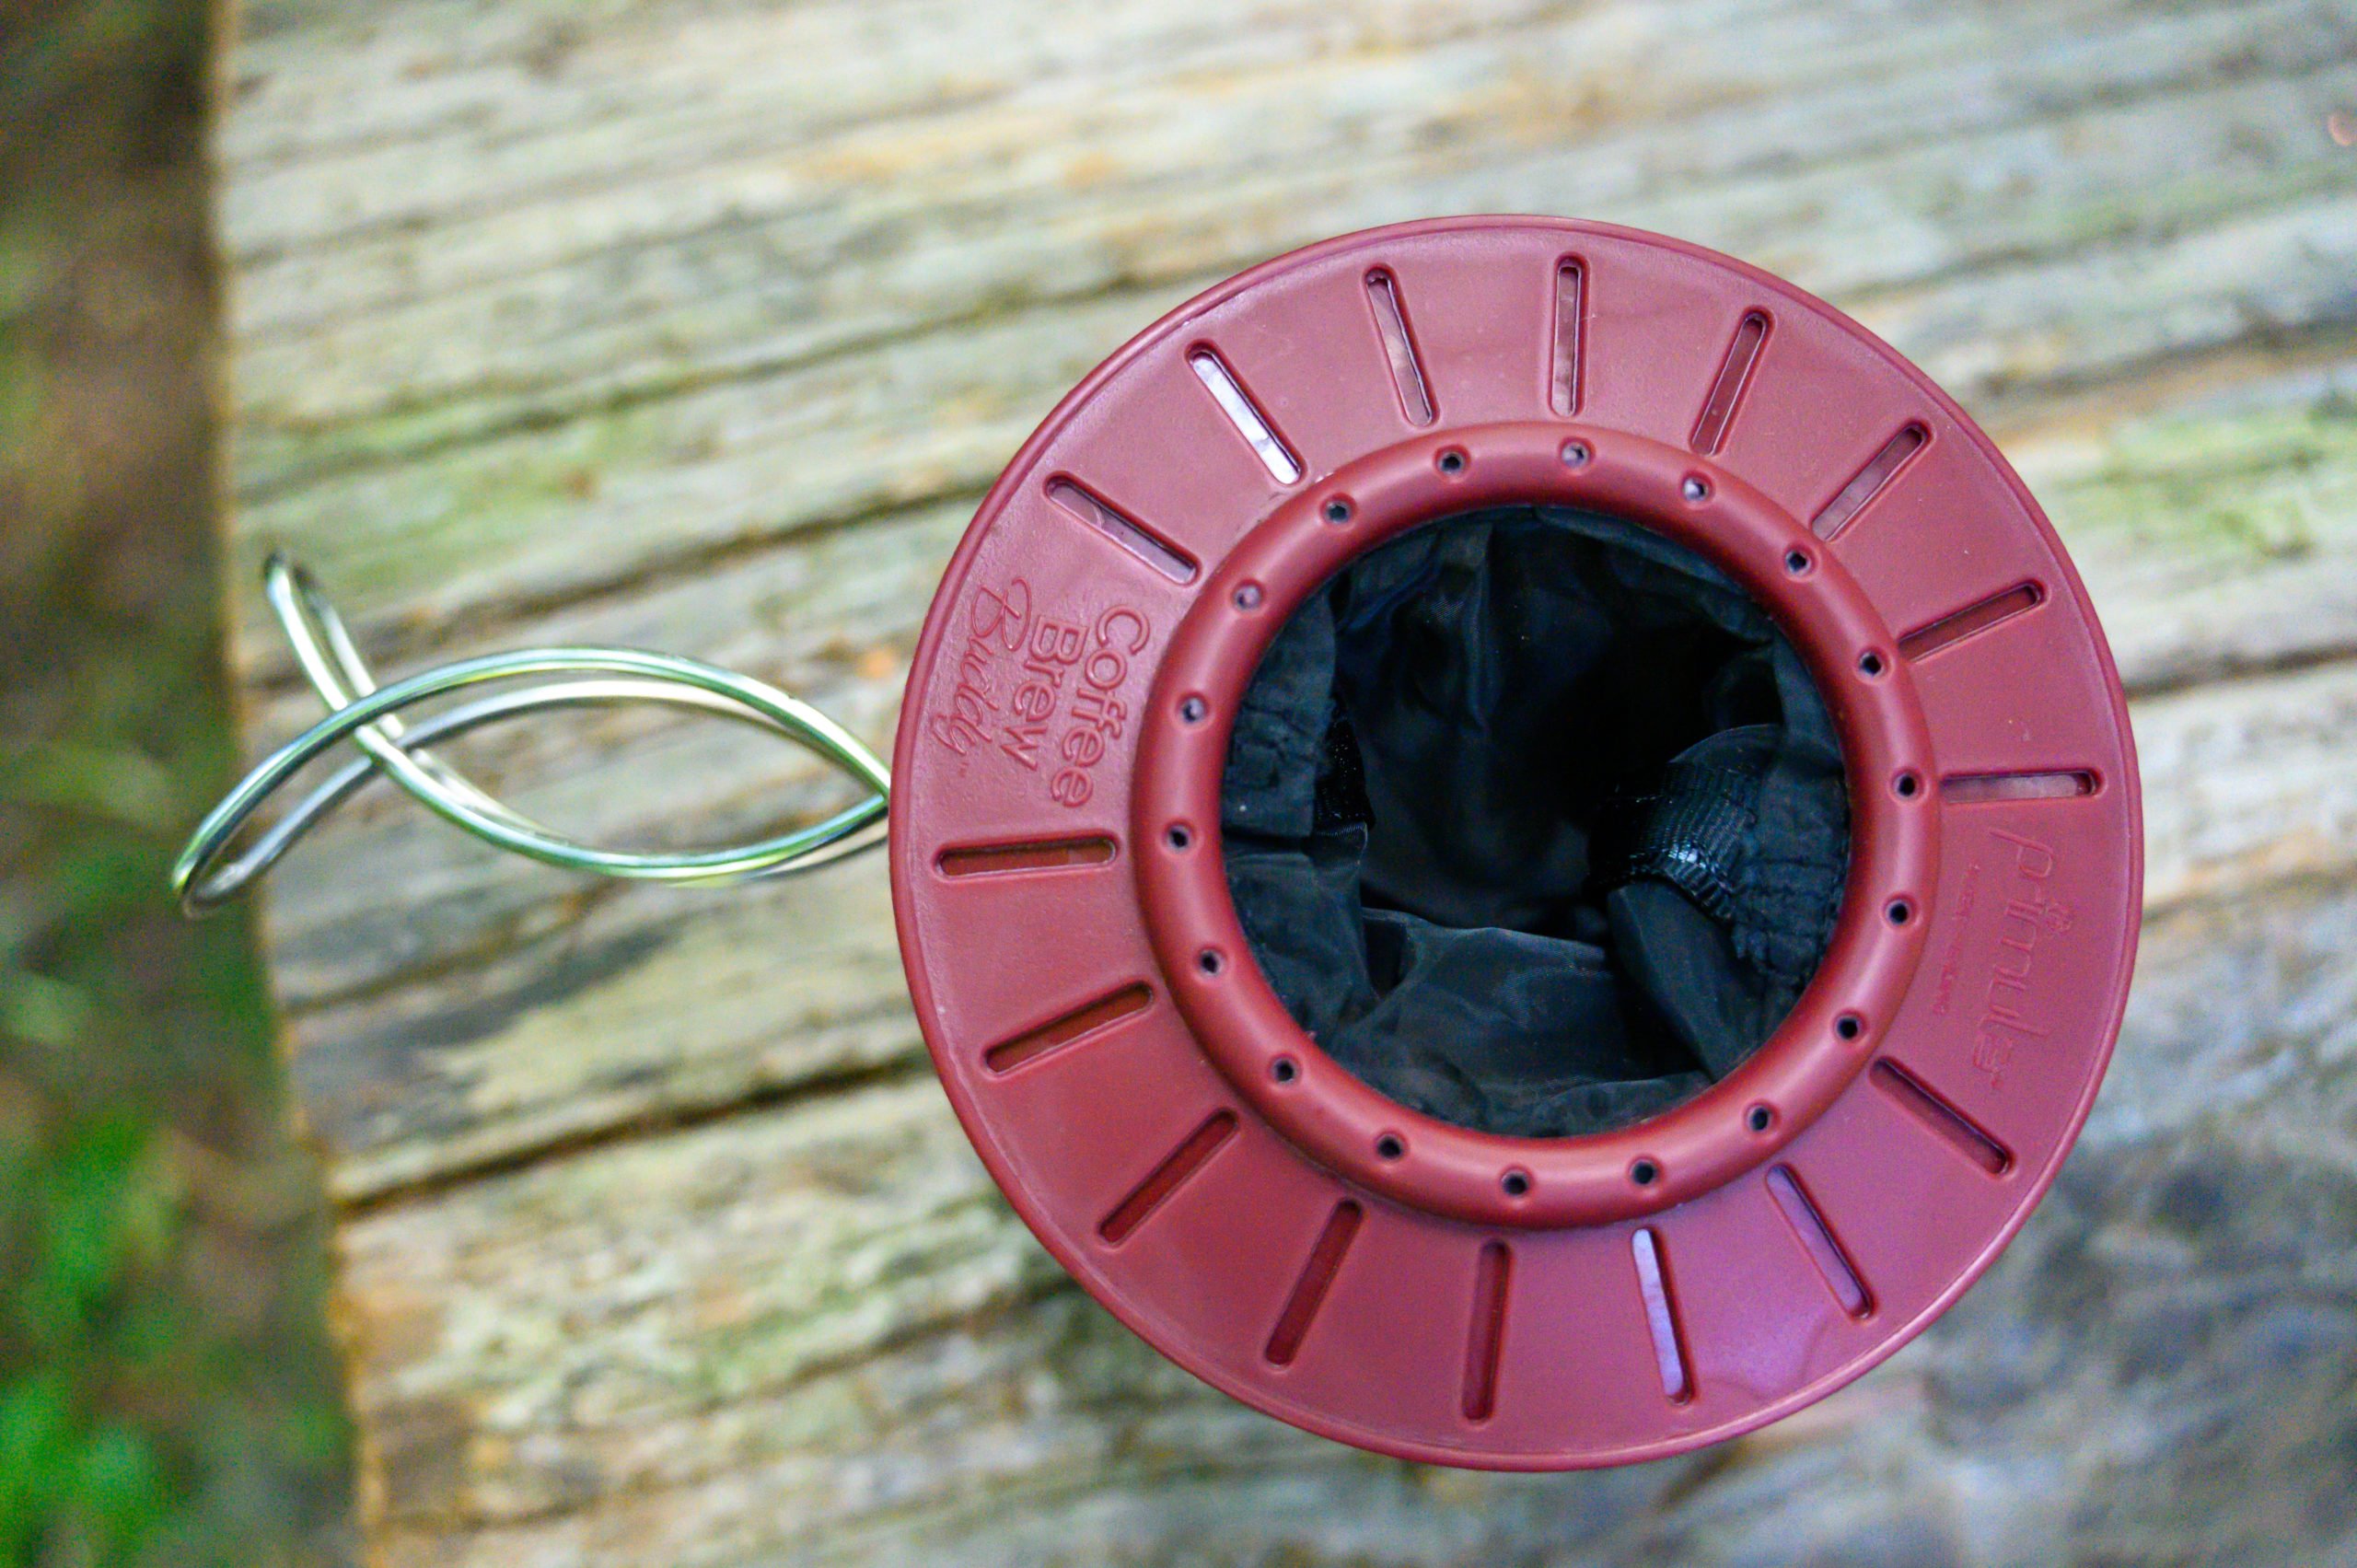
Last year I purchased the Primula brew buddy for my off-road motorcycle trip. I needed something small and lightweight since we were packing our camping gear on our motorcycles. It is also great for backpacking as it is incredibly lightweight and compact. It is the simplest of the campfire coffee methods and the cheapest of them too! You place the brew buddy over a mug, add coffee to the filter in the center, then slowly pour in hot water and voila! You have a freshly brewed cup of coffee. Easy peasy!
Equipment:
- The Primula Brew Buddy
- Coffee Mug (brew buddy needs to fit on top of the rim)
- Tablespoon for measuring coffee
- Coffee Pot made for use over fire or stove (for boiling water)
- Campfire or camp stove
- Towel or Grill Gloves (to avoid burning yourself when you take the coffee pot off the heat)
Ingredients:
- Water for boiling
- Medium-fine ground coffee (~ 3 tbsp per cup of coffee)
- Optional Ingredients: sugar, half-n-half, coffee creamer, cinnamon to sprinkle on top
- My Favorite Roast Type: Medium Roast
Instructions:
- Boil Water
- Remove the coffee pot from the heat and let sit 30 seconds to 1 minute.
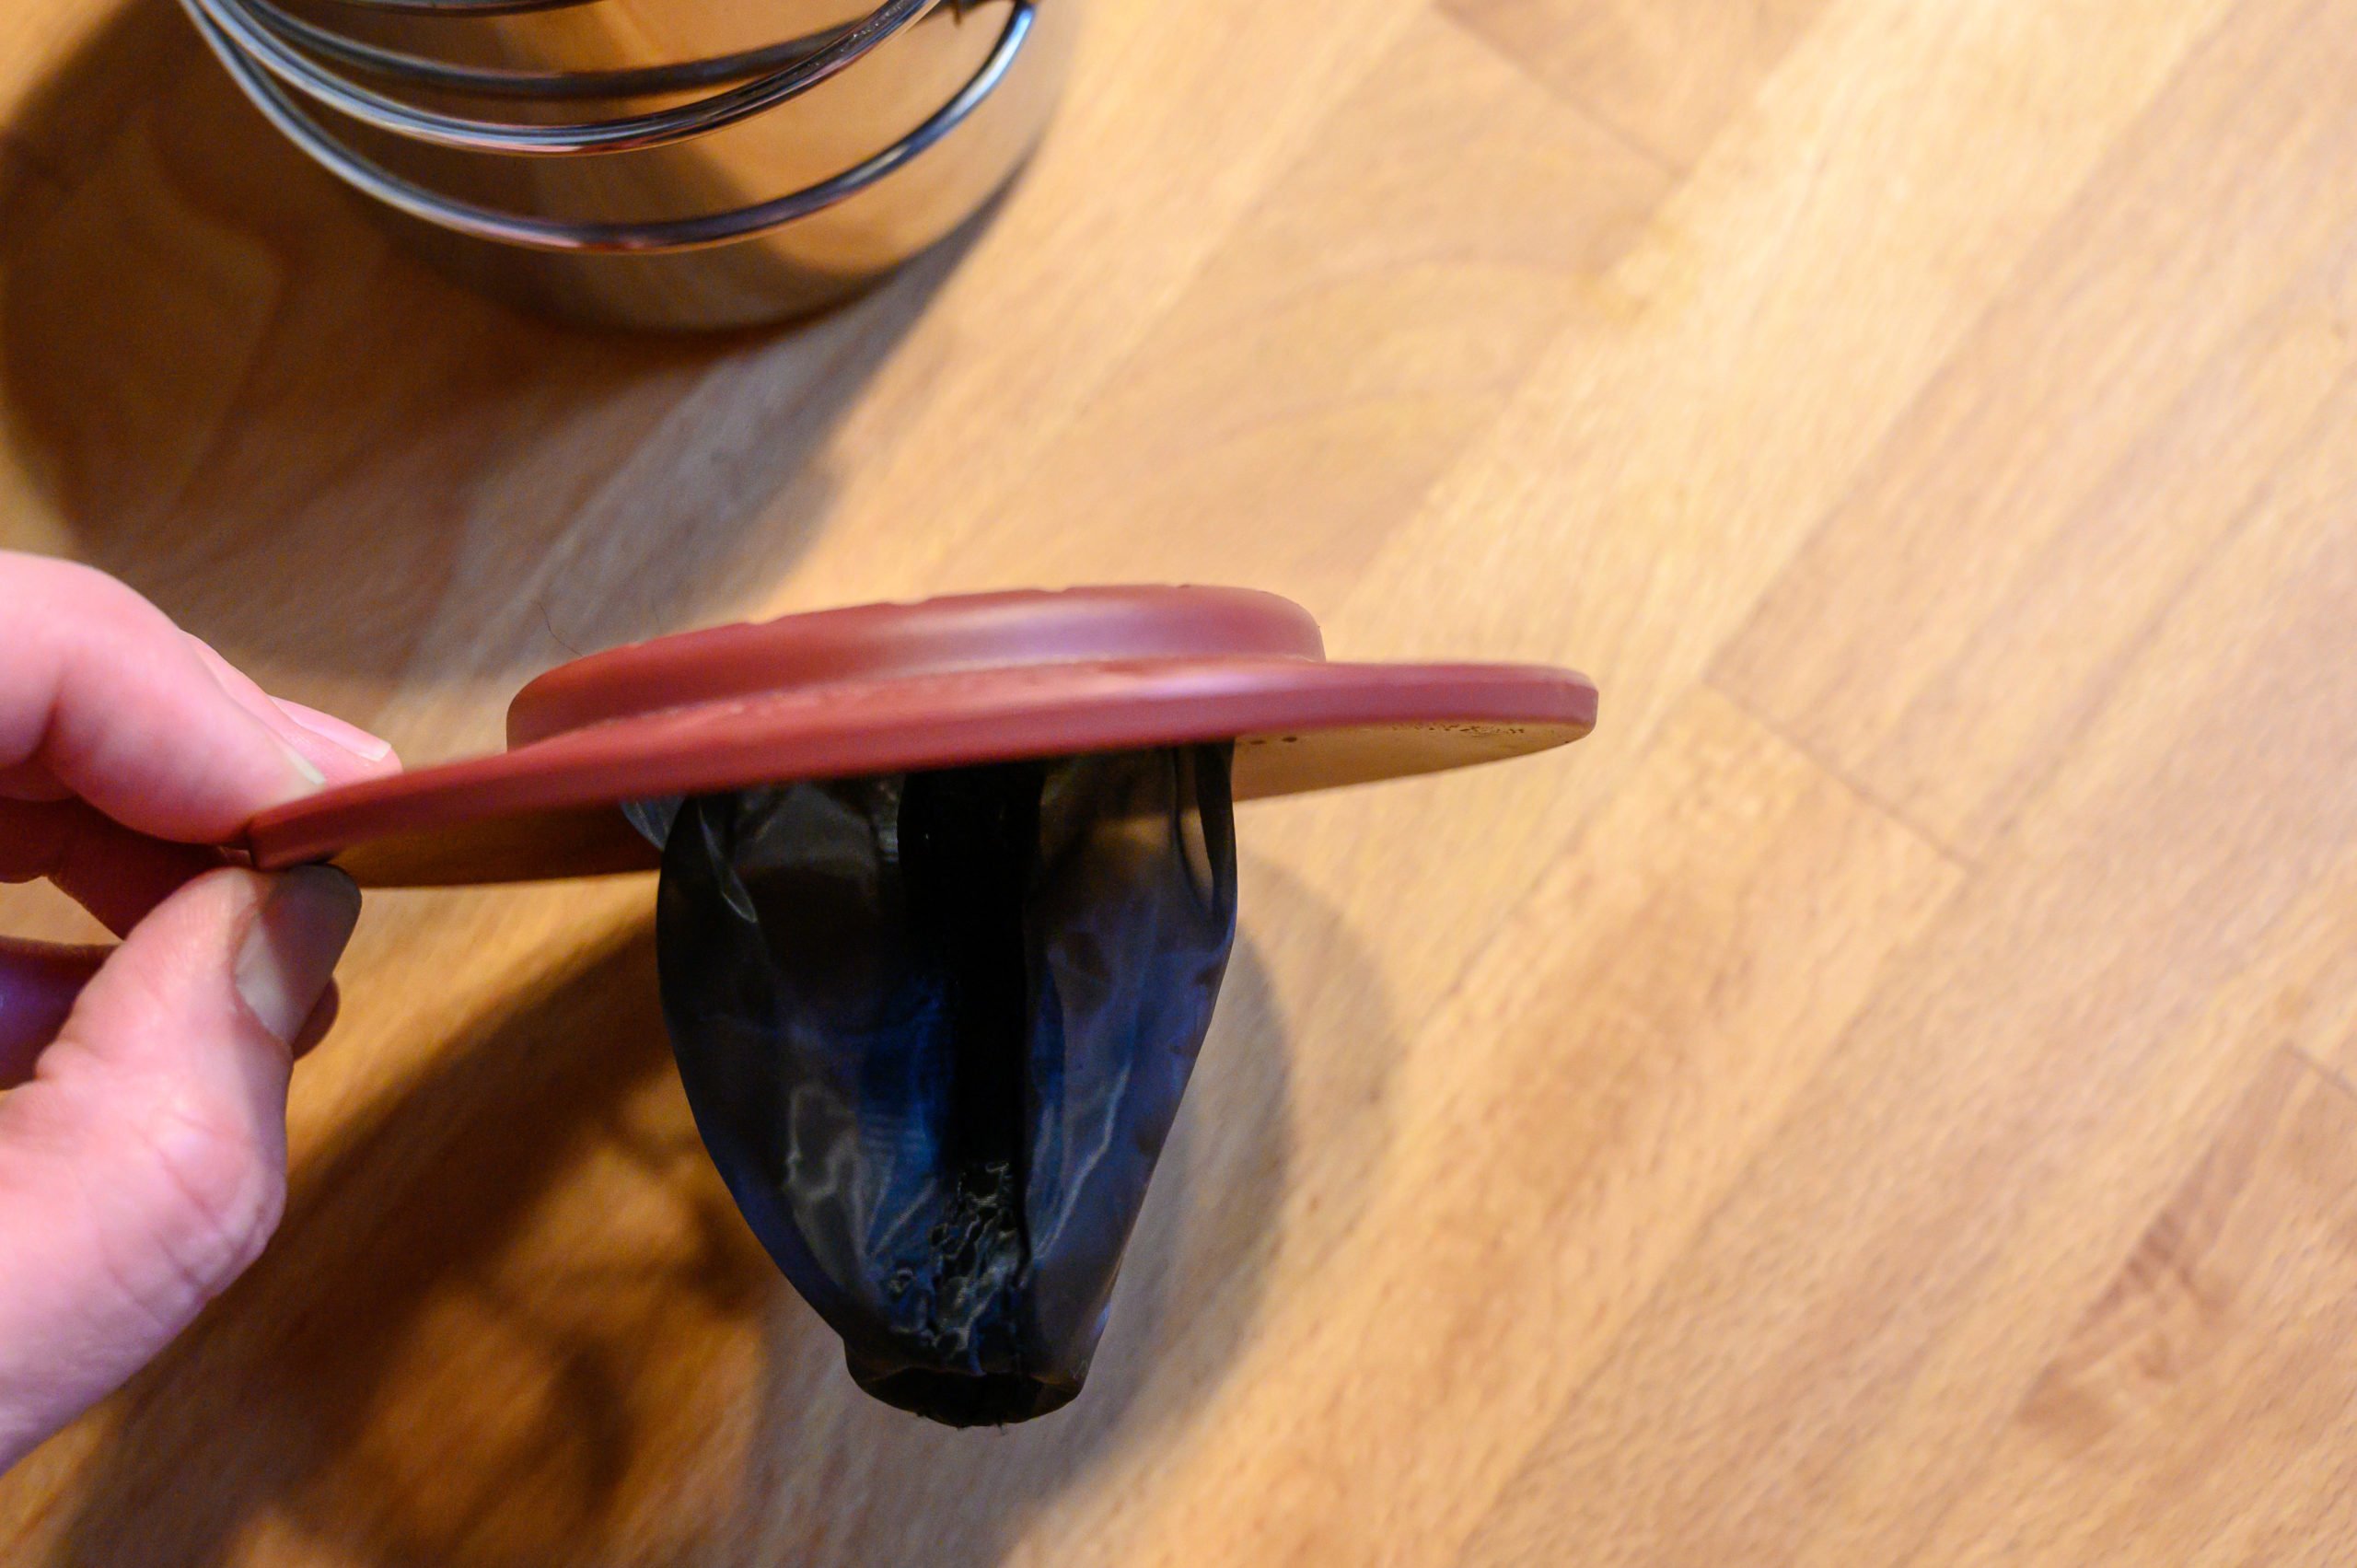
- Place brew buddy on top of your coffee mug.
- Add 3 Tablespoons of coffee to the filter in the center of the brew buddy. (Adjust to personal preferences.)
- Slowly pour in your hot water over the coffee in the brew buddy until you’ve filled your mug to your desired level. (You may have to lift it to check the water level from time to time.)
- Remove the brew buddy from the top of your cup. Be careful as the sides of the plastic may be hot to the touch. (The longer you leave it on the mug, the stronger the coffee gets, and it will eventually turn bitter).
- Rinse coffee grounds from brew buddy to clean it for future use and set aside to dry (or to make the next cup).
- Drink up!
*Psst, you can also put loose leaf tea in your brew buddy and brew a cup of tea. I won’t tell, I promise. However, you may want to save that for the afternoon when everyone has already had their coffee—no need to start a riot.
Additional Tips to Make Coffee When Camping
Coffee Grinds:
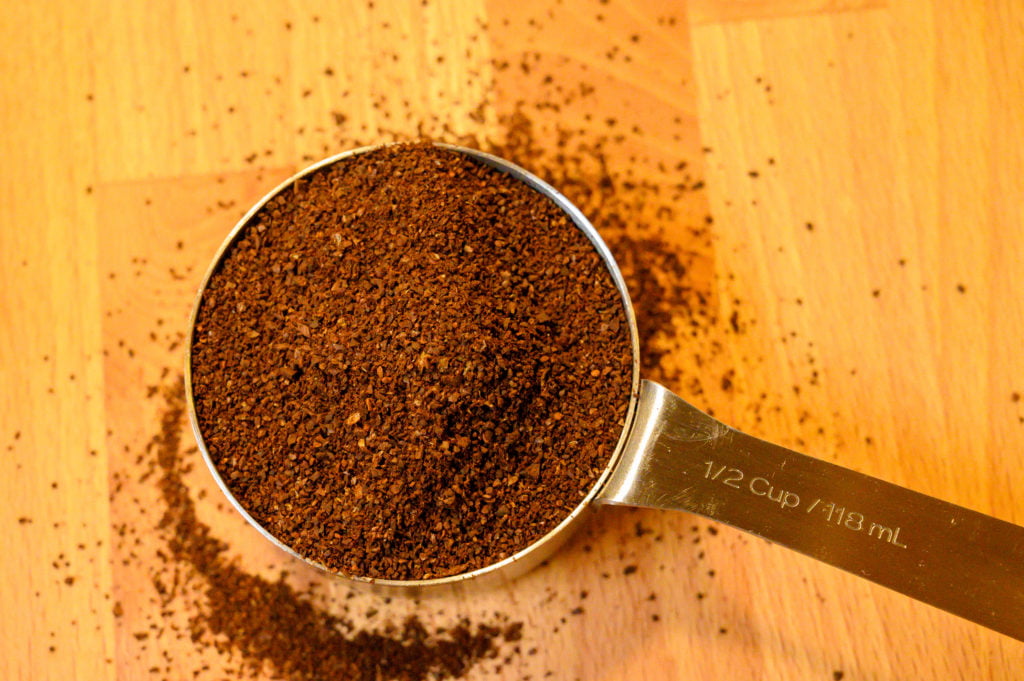
You can either purchase your favorite coffee ground or as whole beans. If you choose to grind your coffee beans (my preference), then make sure to grind them at home before leaving for camp. If you have a hand grinder and want to grind your beans at camp, you can certainly do that. I tend to prep at home to make camping as simple as possible. If you’re making cowboy coffee, then you’ll want a medium to coarse grind something that sort of looks a little smaller than kosher salt. The coarser grind will help prevent getting coffee grounds in your cup when you pour. Whereas if you’re making AeroPress coffee or using the brew buddy, then something more along medium to medium-fine is a good grind size. Medium is about the size of sea salt, and medium-fine would be like coarse sand. You can experiment with grind size at home to find your personal preference and then pack that for your camping trip.
Cowboy Coffee Tips
Measure the amount of water your coffee pot takes before leaving home, then choose the appropriate measuring cup or bring bags of pre-measured coffee to use each day. A general starting point for coffee to water ratio is two tablespoons of coffee per 8 oz of water. So if you have a 12-cup coffee pot, then you’ll know you want somewhere around 1 1/2 cups of ground coffee per pot (adjusted to personal preferences). The important thing is to know how much water your coffee pot holds and then go from there to determine how much coffee you’ll need per pot.
Final Thoughts for Campfire Coffee
In all honesty, no matter which method you use to make coffee when camping, you’re going to be so happy just to have coffee that it won’t matter quite as much how you get it. That said, I hope this post shows just how easy it is to brew a quality cup of coffee when camping. Oh, and make sure to pack extra coffee cups as you are going to have people stopping by to ask for some when they see you sitting there drinking your liquid hug-in-a-mug. I’m smiling just thinking about that first cup of campfire coffee. The air is crisp, my coffee is hot, the camp is quiet, and I inhale the smell of freshly brewed coffee and clean air. Life is good.
For more articles on coffee, check out:
- Japanese Coffee Jelly: Not Your Mama’s Jello (this is a great treat to take camping)
- Awesome Gift Ideas for Coffee Lovers
- Bean Box Delivers World-Class Coffee to Your Door
- Vietnamese Iced Coffee Made Three Ways
Now Let’s Go Camping!
*Disclaimer: Travelffeine is reader-supported. When you buy via links on this site, we may earn an affiliate commission at no cost to you.

Written by
Charity
Traveler, coffee enthusiast, and storyteller — exploring destinations one sip at a time.
Share this story
Keep Reading
Keep Reading

More Adventures
Explore More
10 Best K-Cup Coffees To Start Your Day
Here are 10 of the best K-Cup coffees to try. These are flavorful, aromatic, and the perfect way to start your day when you're short on time.
Read More
7 Best Coffees to Try For Any Brewing Method
These are the best coffees to try no matter what coffee brewing method you use. They are fresh roasted and a perfect way to start your day!
Read More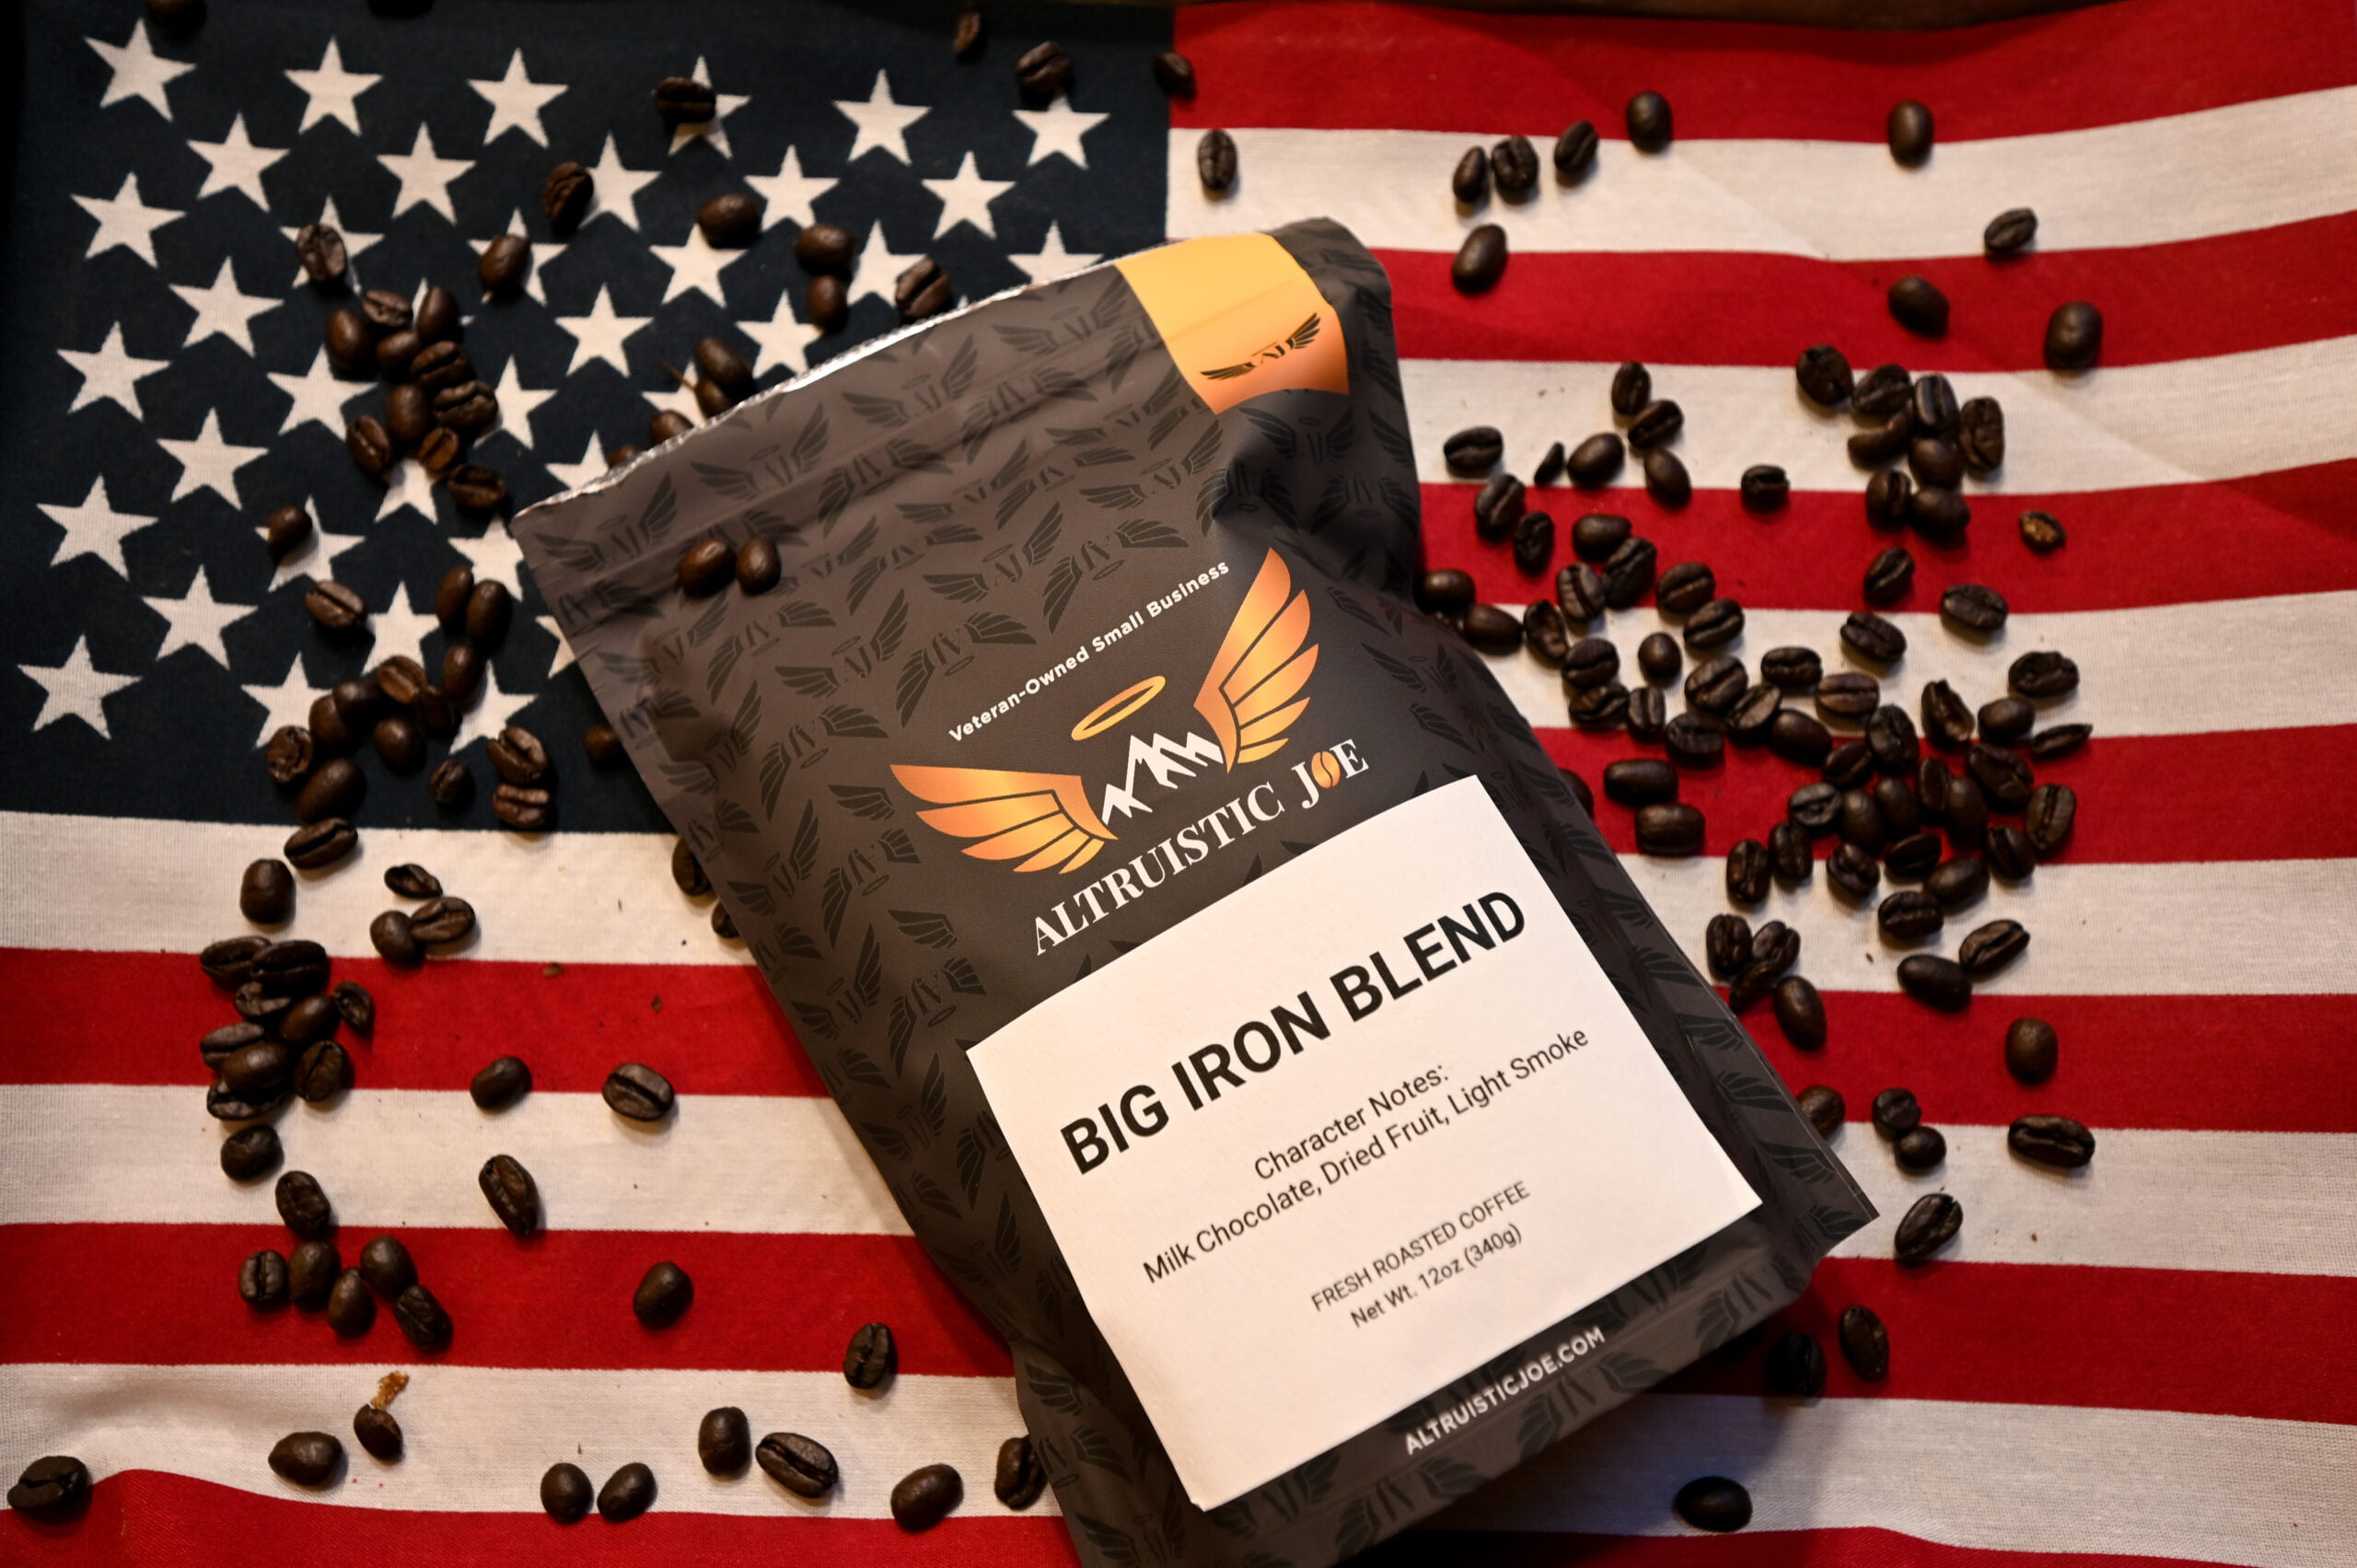
Altruistic Joe: Coffee With a Cause
Veteran-owned Altruistic Joe delivers fantastic coffee with a cause right to your door, delicious aroma and all! Buy it today and give back!
Read More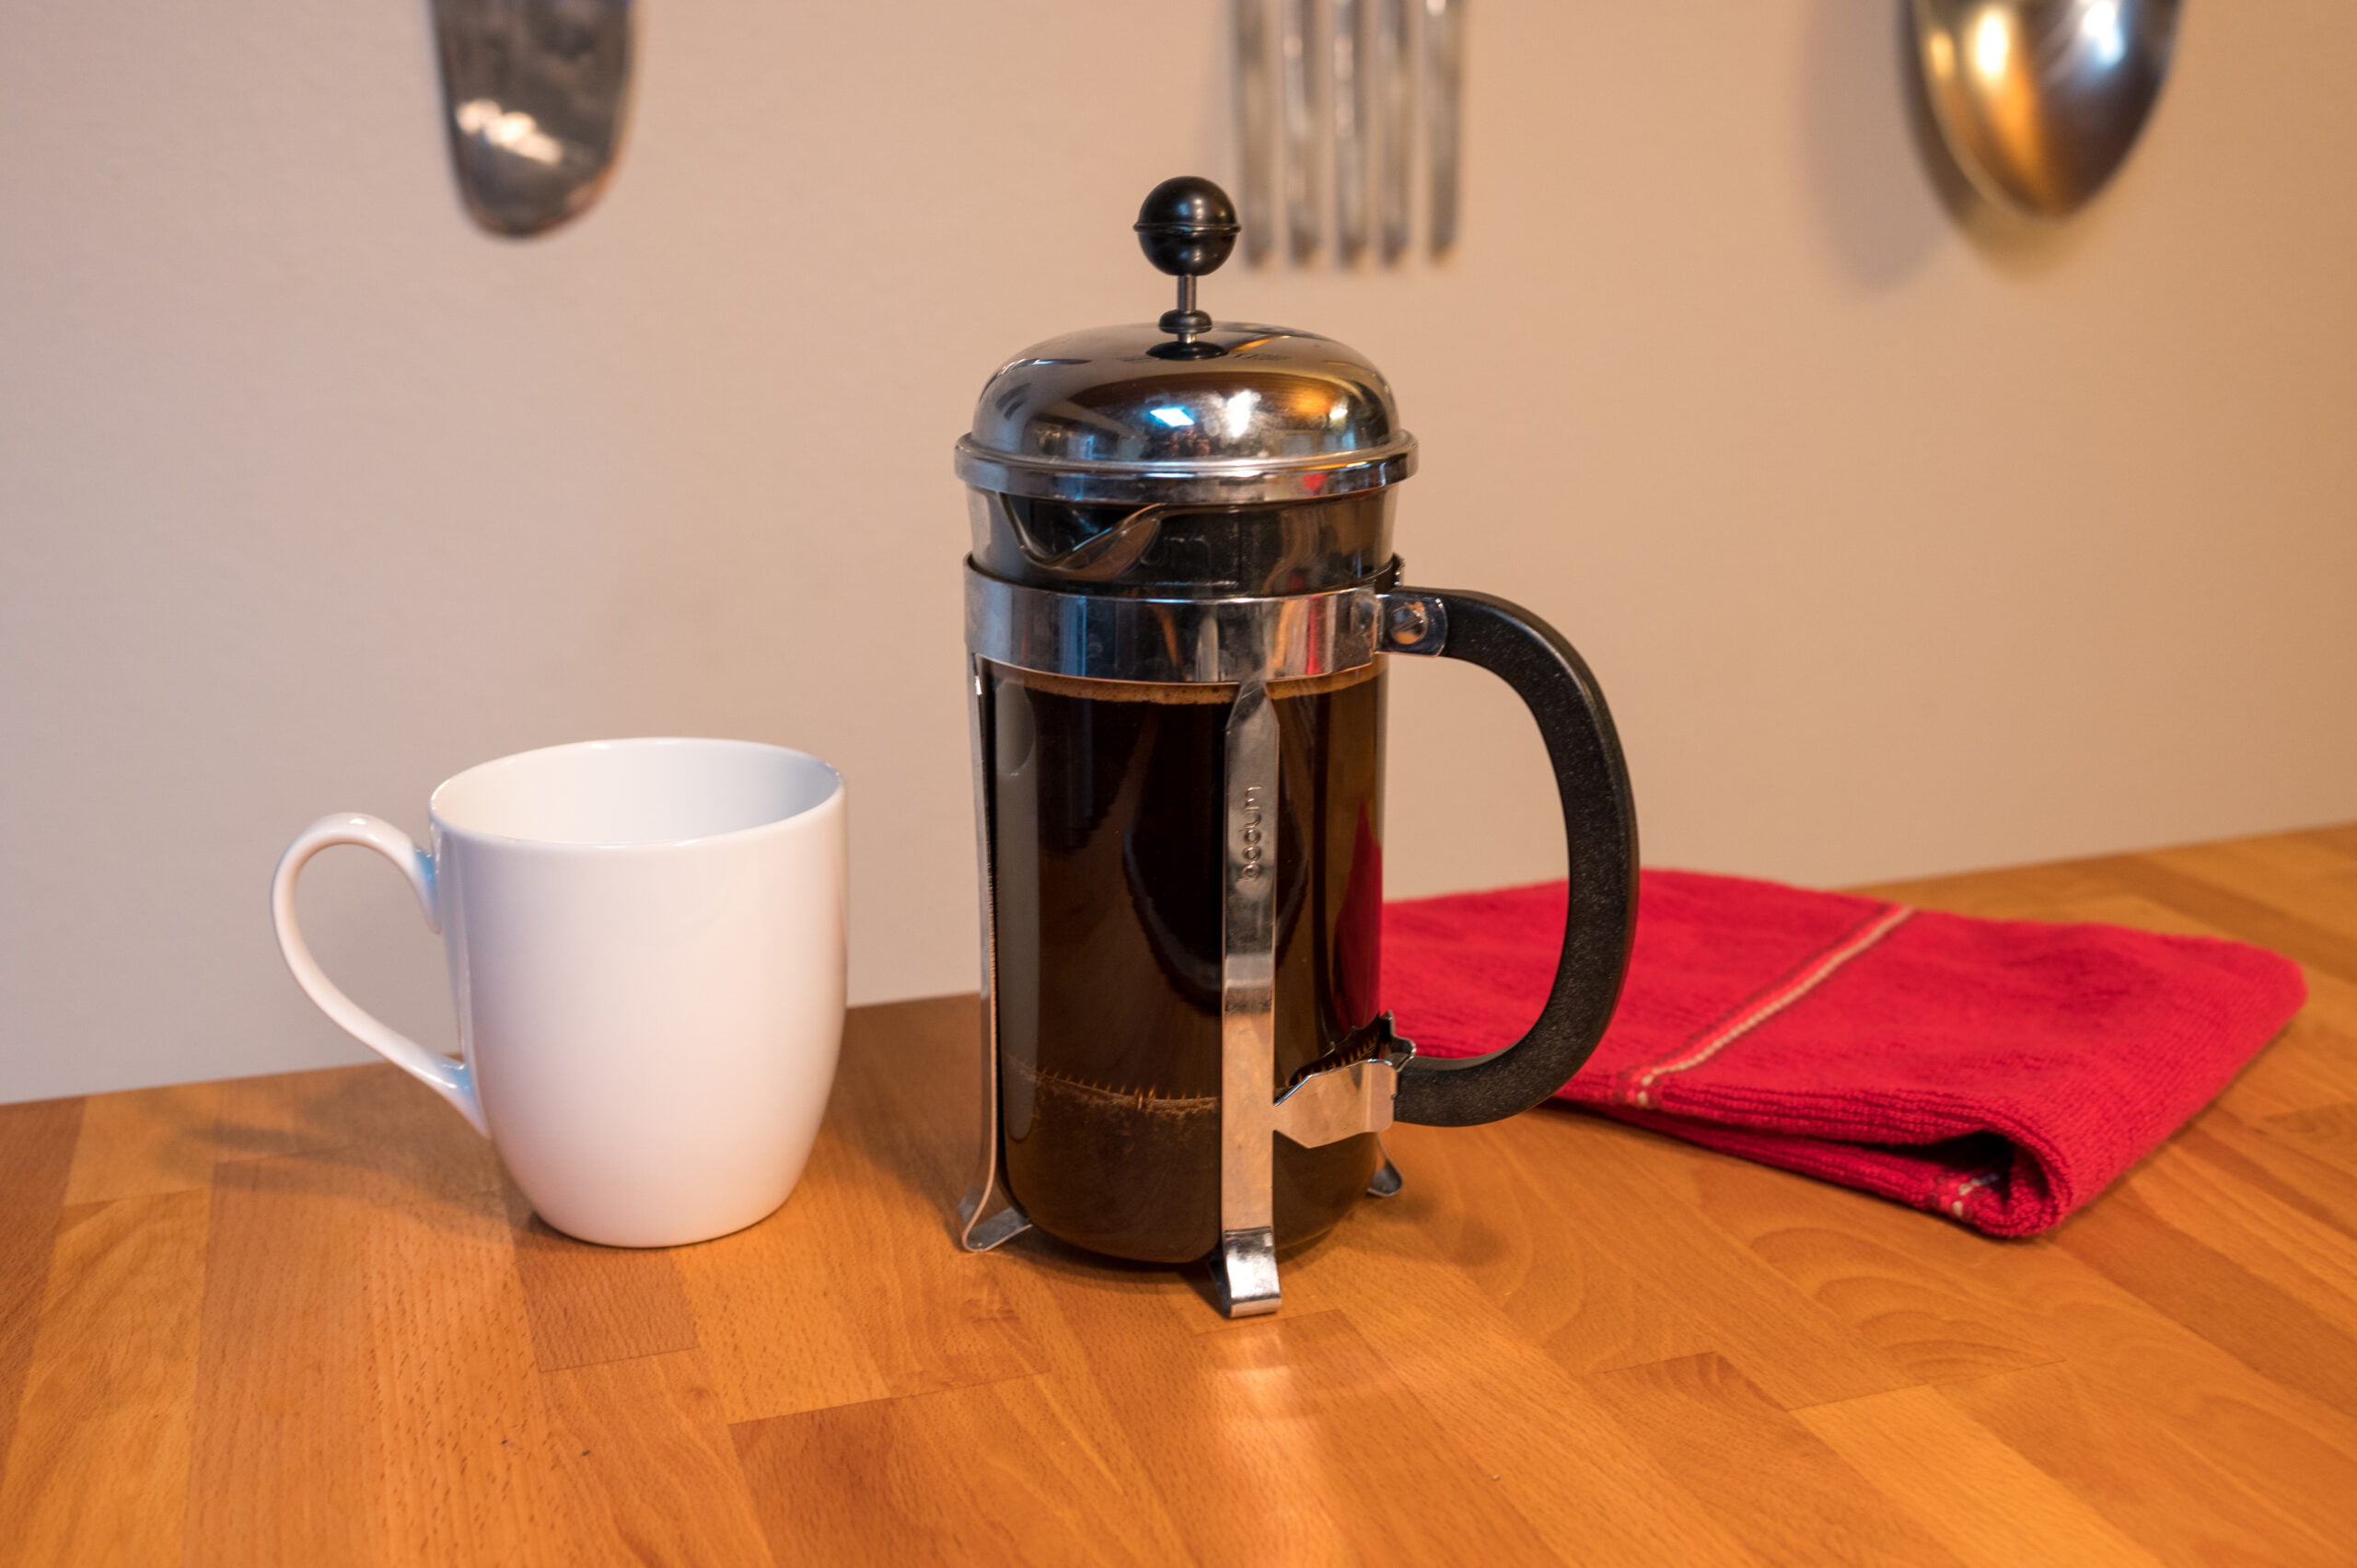
How to Easily Make French Press Coffee
French Press coffee is simple to make and yet brewing the perfect cup is all in the details. Learn how to do it with this classic method.
Read MoreRecent Posts

Keep Reading
You Might Also Like
- Coffee
10 Best K-Cup Coffees To Start Your Day
Here are 10 of the best K-Cup coffees to try. These are flavorful, aromatic, and the perfect way to start your day when you're short on time.
Read more - Coffee
7 Best Coffees to Try For Any Brewing Method
These are the best coffees to try no matter what coffee brewing method you use. They are fresh roasted and a perfect way to start your day!
Read more - Coffee
Altruistic Joe: Coffee With a Cause
Veteran-owned Altruistic Joe delivers fantastic coffee with a cause right to your door, delicious aroma and all! Buy it today and give back!
Read more